

Working with Chats (WSC)#
In the Carbonio web client, Chats (WSC - Workstream Collaboration) serve as a key communication feature, supporting both individual and group interactions. Users benefit from centralized messaging, promoting real-time conversations and fostering collaboration. Whether it’s about sharing information, brainstorming, or organizing tasks, Chats offer a seamless platform for efficient teamwork. Notifications ensure that users stay updated and engaged, maintaining productivity whether they are working remotely or in the office.
Creating New Chat#
To initiate communication with a colleague, you need to create a new chat. To do so:
Select the Chats feature from your left sidebar.
On the top bar, click the NEW button. A new window appears.
Begin typing the email address of the colleague you wish to chat with.
Click on the name of the colleague that appears in the list.
Click CREATE.
Now, this chat is added under the Chats module, containing a list of all available chats.
Initially, you will not see any chats in your chat system, but once you create them, you can find them on the list. Please note that you will be able to will be able to create new conversation only with users that have Chats(WSC) enabled.
Once you have created and selected a chat, you can start typing your message in the bottom text box. You can also add emojis and attach files to your message. Press Enter on Windows or Return on macOS to send the message.
You can also create a new chat by searching for a colleague in the search bar. To do so:
Select the Chats feature from your left sidebar.
In the “Type to filter list” field, insert your colleague’s name.
Click on the name of the colleague that appears in the list.
The new chat will be created automatically.
Start typing your message in the bottom text box. You can also add emojis and attach files to your message. Press Enter on Windows or Return on macOS to send the message.
Adding Emojis to Your Message#
Once you have created and selected a chat, you can start typing your message in the bottom text box. You can also add emojis in the text by clicking on the emoji icon located in the text box.
Sending Files from Your Computer in Chats#
To send a file saved on your computer using Chats, follow these steps:
Select the Chats feature from your left sidebar.
Select the chat in which you want to send the file.
Click on the paperclip icon located in the chat box at the bottom of the page.
Select Add from local. A new window appears.
Choose the file from your computer by navigating through the opened window.
Click Open to attach the file to your message.
Sending Files from Carbonio Files in Chats#
You can use Chats to send a file directly from Carbonio Files to a chat. Here is how:
Select the Chats feature from your left sidebar.
Select the chat in which you want to send the file.
Click on the paperclip icon located in the chat box at the bottom of the page.
Select Attach public link from Files. A new window appears.
Choose the file by navigating through the opened window.
Click SHARE PUBLIC LINK.
This process will automatically generate a public link for your file and send it into the chat.
Edit A Message#
To edit a message:
Click on the downward arrow located next to the message bubble.
Select Edit from the drop-down menu.
Edit the message and hit enter.
You have only a five-minute window to edit a message. After that, you will not be able to do so, and the edit option will disappear.
Forward A Message#
To forward a message:
Click on the downward arrow located next to the message bubble.
Select Forward from the drop-down menu.
Click FORWARD at the bottom right corner of the chat box
Select the chat to which you want to forward the message.
Click FORWARD.
You can also forward multiple messages at once. To do so:
Click on the downward arrow located next to the message bubble.
Select Forward from the drop-down menu.
Select the messages you want to forward by clicking on the checkboxes next to them.
Click FORWARD at the bottom right corner of the chat box
Select the chat to which you want to forward the message.
Click FORWARD.
The messages will be forwarded to the selected chat: reporting “Originally sent by: [Sender Name]” and the date of the original message.
Delete A Message#
To delete a message:
Click on the downward arrow located next to the message bubble.
Select Delete for all from the drop-down menu.
You have only a five-minute window to delete a message. After that, you will not be able to do so, and the delete option will disappear.
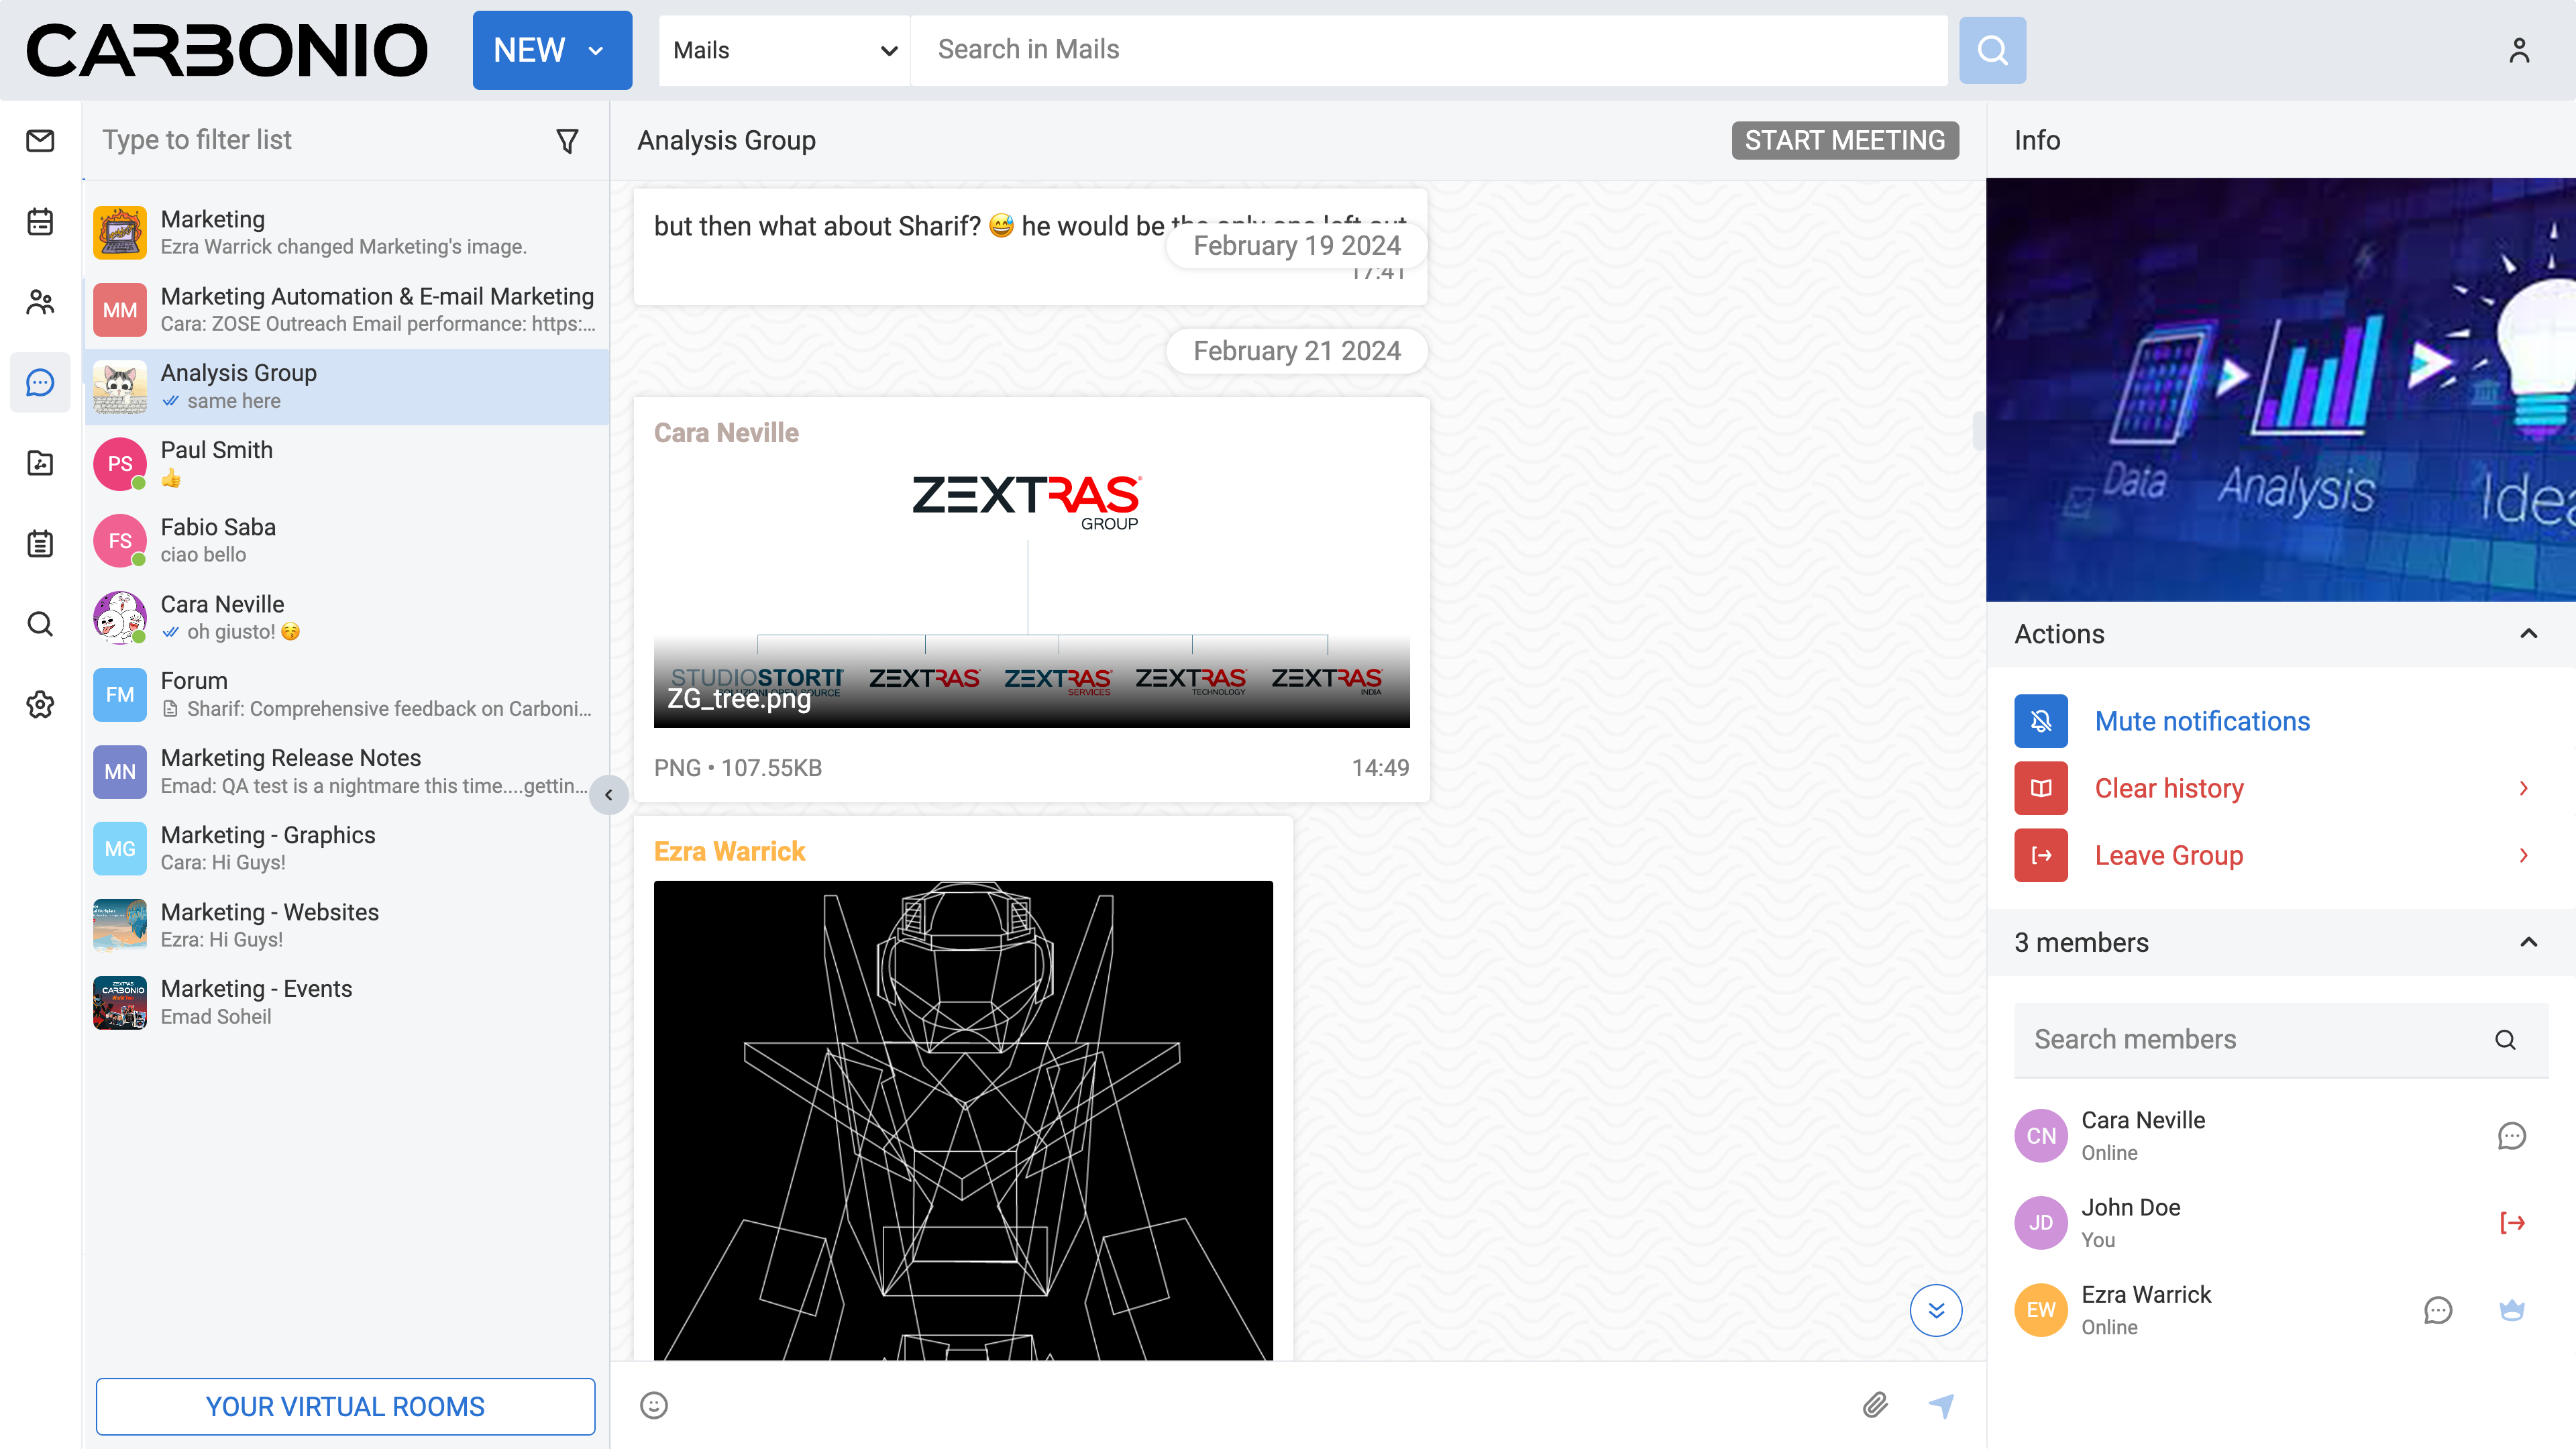
Mute Notifications of a Chat#
When you receive a new message in an individual chat or group chat, you will see a notification on your screen to inform you. If you want to disable notifications for a specific chat or group, follow these steps:
Select the Chats feature from your left sidebar.
Select the chat or group for which you want to mute notifications.
On the right side of the Main Panel, click Mute notifications.
To unmute, follow the same procedure and choose Activate notifications.
Clear History of a Chat#
To clear the history of a specific chat or group:
Select the Chats feature from your left sidebar.
Select the chat or group you want to clear the history for.
On the right side of the Main Panel, click Clear History.
Click CLEAR HISTORY to confirm.
Creating New Group#
Groups allow for group conversations with at least three attendees. You can create a group chat by following these steps:
Select the Chats feature from your left sidebar.
On the top bar, click the NEW button. A new window appears.
Begin typing the email address of the colleague you wish to chat with.
Click on the name of the colleagues that appears in the list.
Insert a title for the group.
(Optional) Insert a topic for the group. While this step is not mandatory, providing a topic can help clarify the group’s purpose.
Click NEW GROUP.
Now this group is added to your list.
Once you have created and selected a group, you can start typing your message in the bottom text box. You can also add emojis and attach files to your message. Press Enter on Windows or Return on macOS to send the message.
In the right panel you will find the following possible actions:
Mute notifications
Edit details
Add new members
Clear history
Delete Group
Mute Notifications of a Group#
When you receive a new message in a group chat, you will see a notification on your screen to inform you. If you want to disable notifications for a specific group, follow these steps:
Select the Chats feature from your left sidebar.
Select the group for which you want to mute notifications.
On the right side of the Main Panel, click Mute notifications.
Click MUTE to confirm.
To unmute, follow the same procedure and choose Activate notifications.
Please note that if you mute notifications for a group, you will not receive any notifications for new messages in that group. However, you will still be able to see the messages when you open the group chat.
Edit Details of a Group#
To edit a group’s name or topic:
Select the Chats feature from your left sidebar.
Select the group for which you want to change the name.
On the right side of the Main Panel, under the Actions section, click on the Edit details.
Edit the name or topic.
Press the save icon on the right.
Click SAVE to confirm.
Add New Members to a Group#
To add new members to a group:
Select the Chats feature from your left sidebar.
Select the group to which you want to add new members.
On the right side of the Main Panel, under the Actions section, click on the Add new members.
Begin typing the email address of the colleague you wish to add - and select the crown icon if you want to promote him as a moderator.
Click on the name of the colleague that appears in the list.
Click ADD NEW MEMBERS to confirm.
(Optional) Repeat the process to add more members.
Clear History of a Group#
To clear the history of a specific group: #. Select the Chats feature from your left sidebar. #. Select the group you want to clear the history for. #. On the right side of the Main Panel, under the Actions section, click on the Clear History. #. Click CLEAR HISTORY to confirm. #. (Optional) Repeat the process to clear the history of more groups.
Please note that clearing the history of a group will remove all messages from the chat just for you, and you will not be able to retrieve them. However, you will still be able to see the group name and members, at the bottom of the chat list.
Delete Group#
To delete a group: #. Select the Chats feature from your left sidebar. #. Select the group you want to delete. #. On the right side of the Main Panel, under the Actions section, click on the Delete Group. #. Click DELETE to confirm.