Working with Contacts#
Managing your contacts is essential for staying connected and organized. This section explains the features and functionalities of the Contacts module in the webmail platform. Whether you are keeping track of personal connections, professional networks, or client relationships, Carbonio makes it easy to store, organize, and access your contacts effortlessly.
Accessing Contact Book#
In the contacts section, you will find two primary address books:
Contacts: This address book contains individuals you have added manually, representing your existing connections.
Emailed Contacts: This address book contains individuals with whom you have correspondence via email.
To access your existing Contacts list:
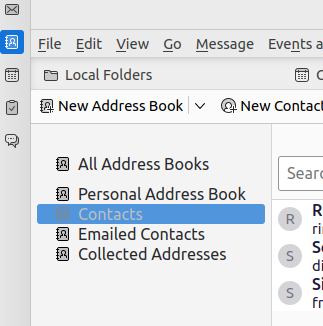
From the left sidebar click the Contacts.
In the Navigation Panel, click the Contacts address book.
Once selected, you will be presented with a list of all your contacts. Initially, this section might appear empty if you have not added any contacts yet. However, you can easily add contacts at any time in the future to populate this list.
To access emailed contacts:
From the left sidebar click the Contacts section.
In the Navigation Panel, click the Emailed Contacts address book.
Once selected, you will be presented with a list of all addresses with whom you have corresponded via email. Initially, this section might appear empty if you have not had any correspondence yet.
Adding a New Contact#
To add a new contact to your contact list:
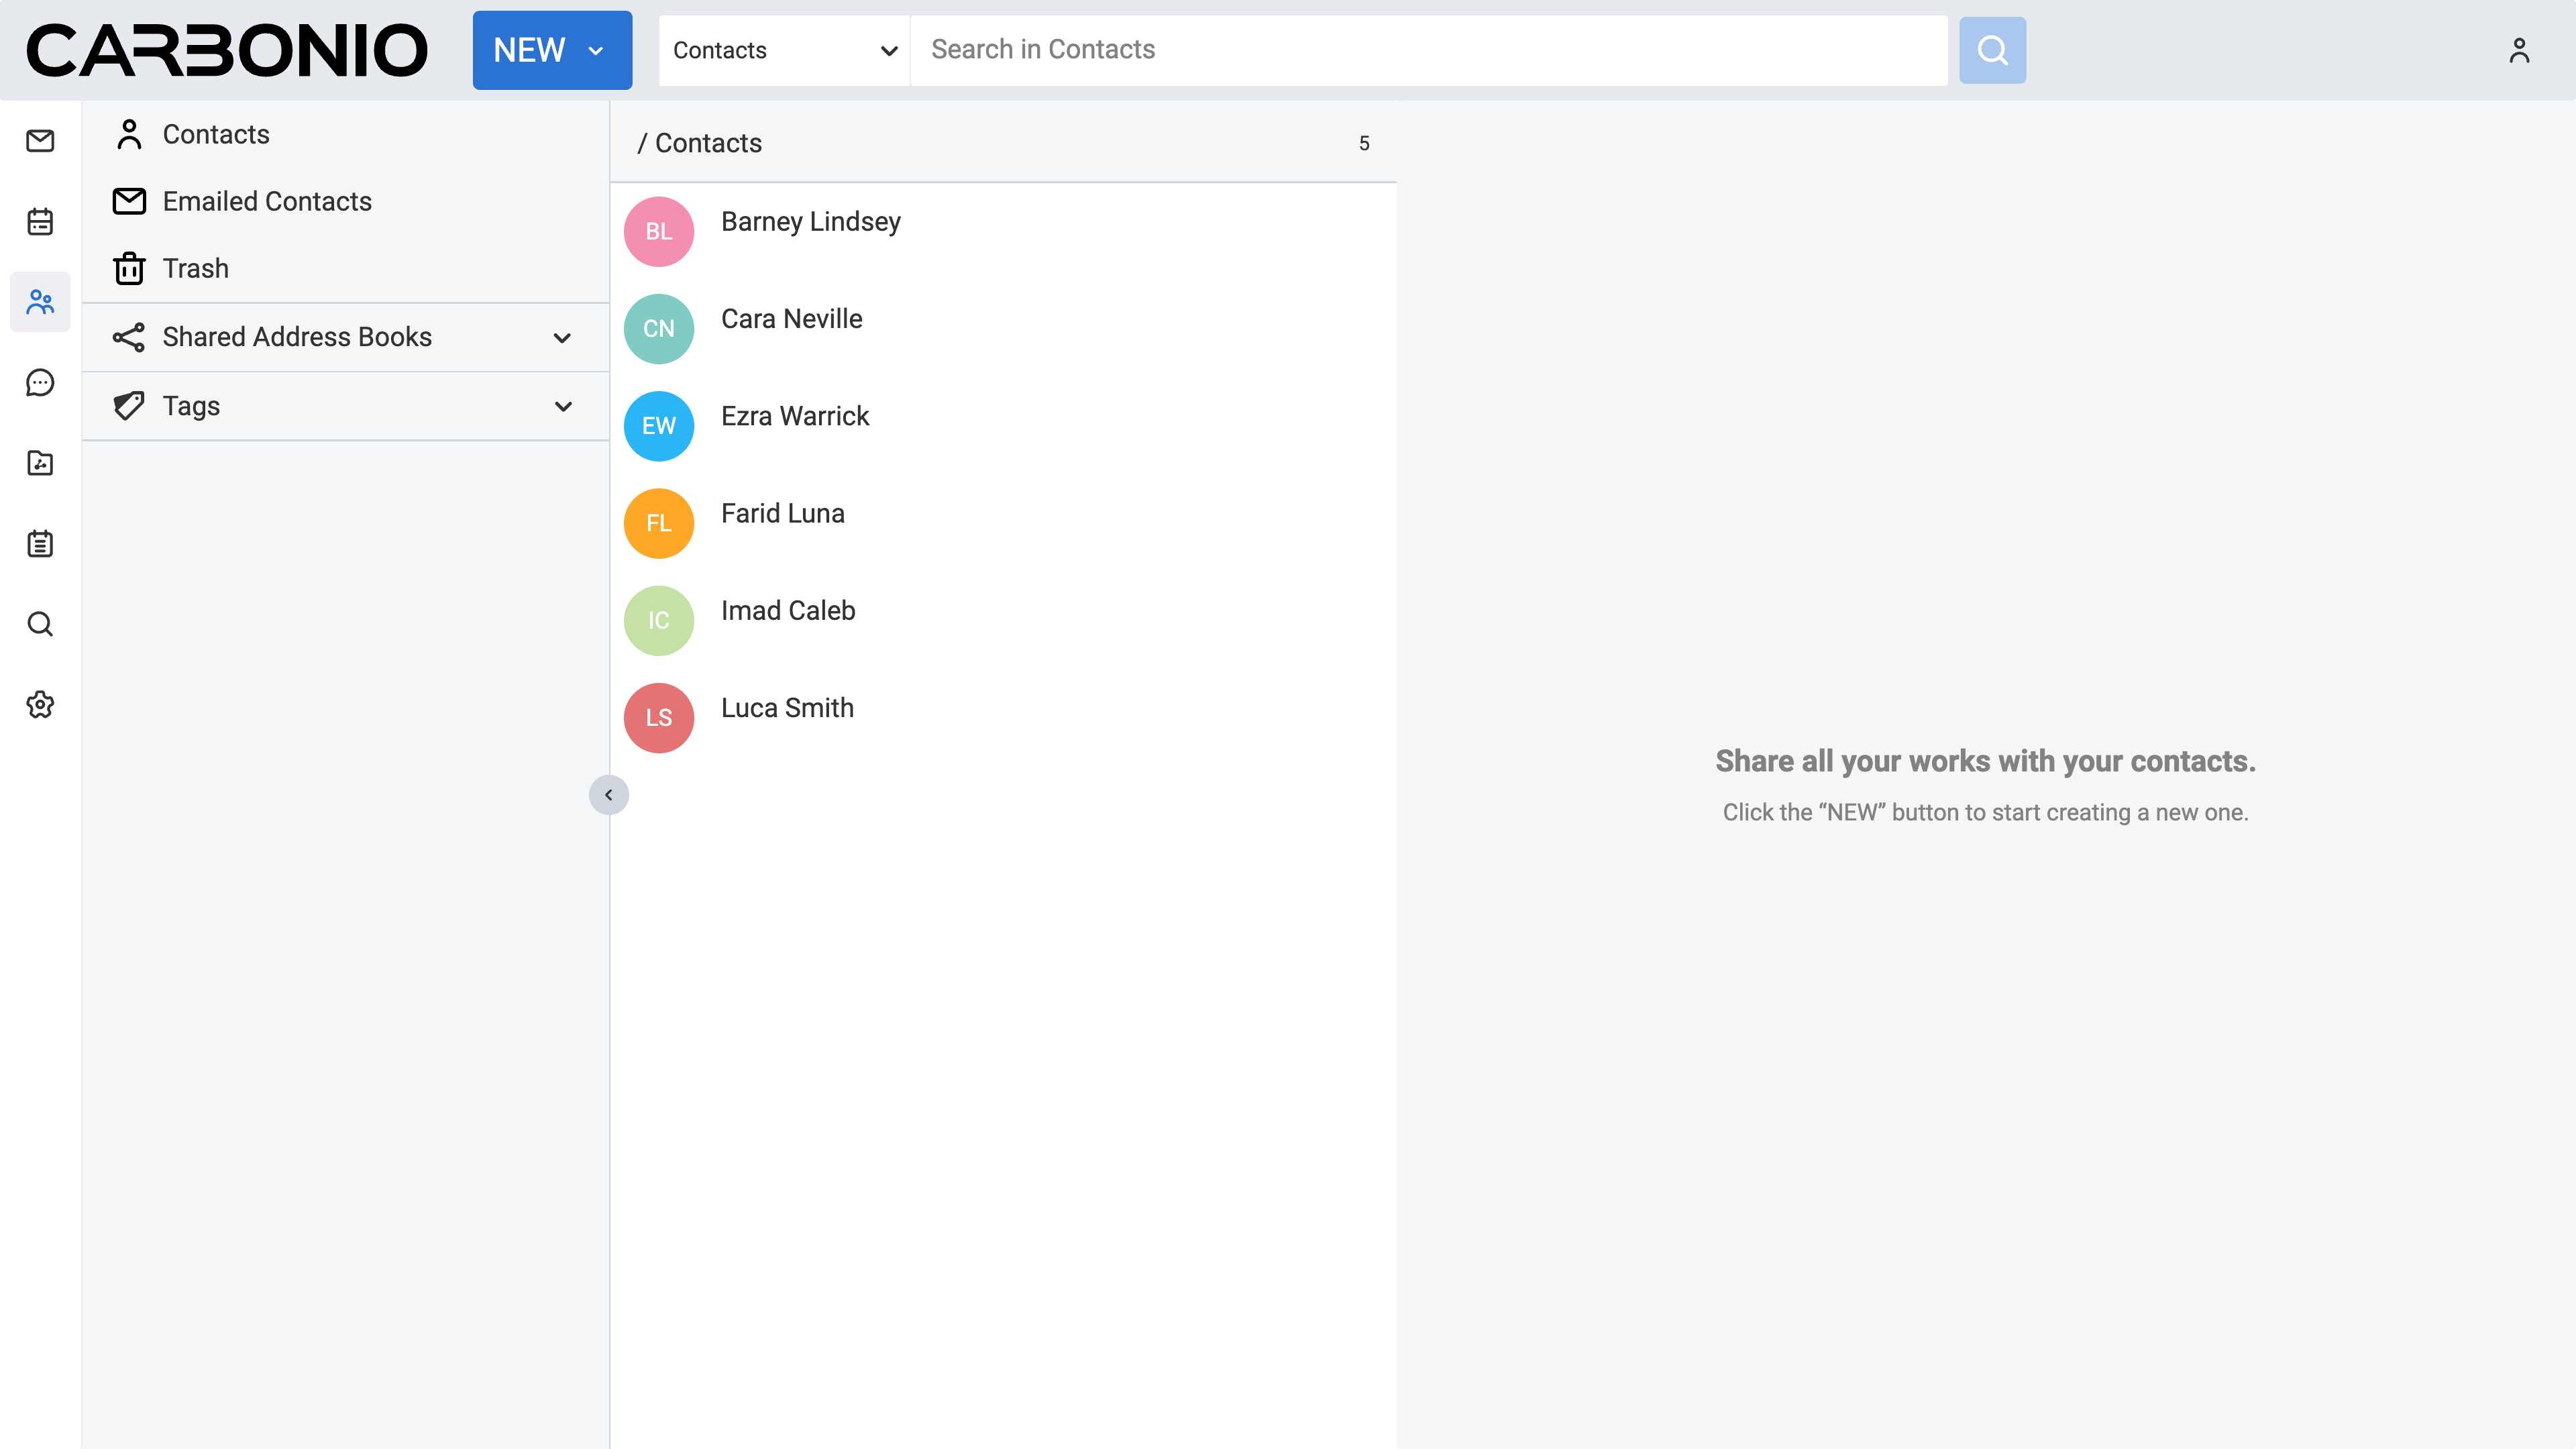
Select the Contacts from your left sidebar.
Click the NEW button located on the top bar. A new board will appear.
Enter the contact’s information.
Under the Destination address book section, choose the address book where you want the contact to be saved.
Click the SAVE button in the top right corner of the board.
Note
Fields marked with an asterisk (*) are mandatory.
Editing a Contact#
To edit an existing contact:
Select the Contacts from your left sidebar.
In the Navigation Panel, select the address book that contains the contact you wish to edit.
Locate and click the contact you wish to edit from the main panel.
Enter the contact’s information.
Click the EDIT button in the top right corner of the main panel.
Edit the information and click the SAVE button.
Assigning a Tag to a Contact#
To assign a tag to an existing contact:
Select the Contacts from your left sidebar.
In the Navigation Panel, select the address book that contains the contact you wish to edit.
Locate and right-click the contact you want to edit from the main panel.
Choose the tag you wish to assign to the contact from the drop-down menu.
Deleting a Contact#
To delete an existing contact:
Select the Contacts from your left sidebar.
In the Navigation Panel, select the address book that contains the contact you wish to edit.
Locate and right-click the contact you wish to delete from the main panel.
Click the Delete button.
Adding an Address Book#
To add an address book:
Select the Contacts from your left sidebar.
In the Navigation Panel, right-click the address book where you want to add the address book.
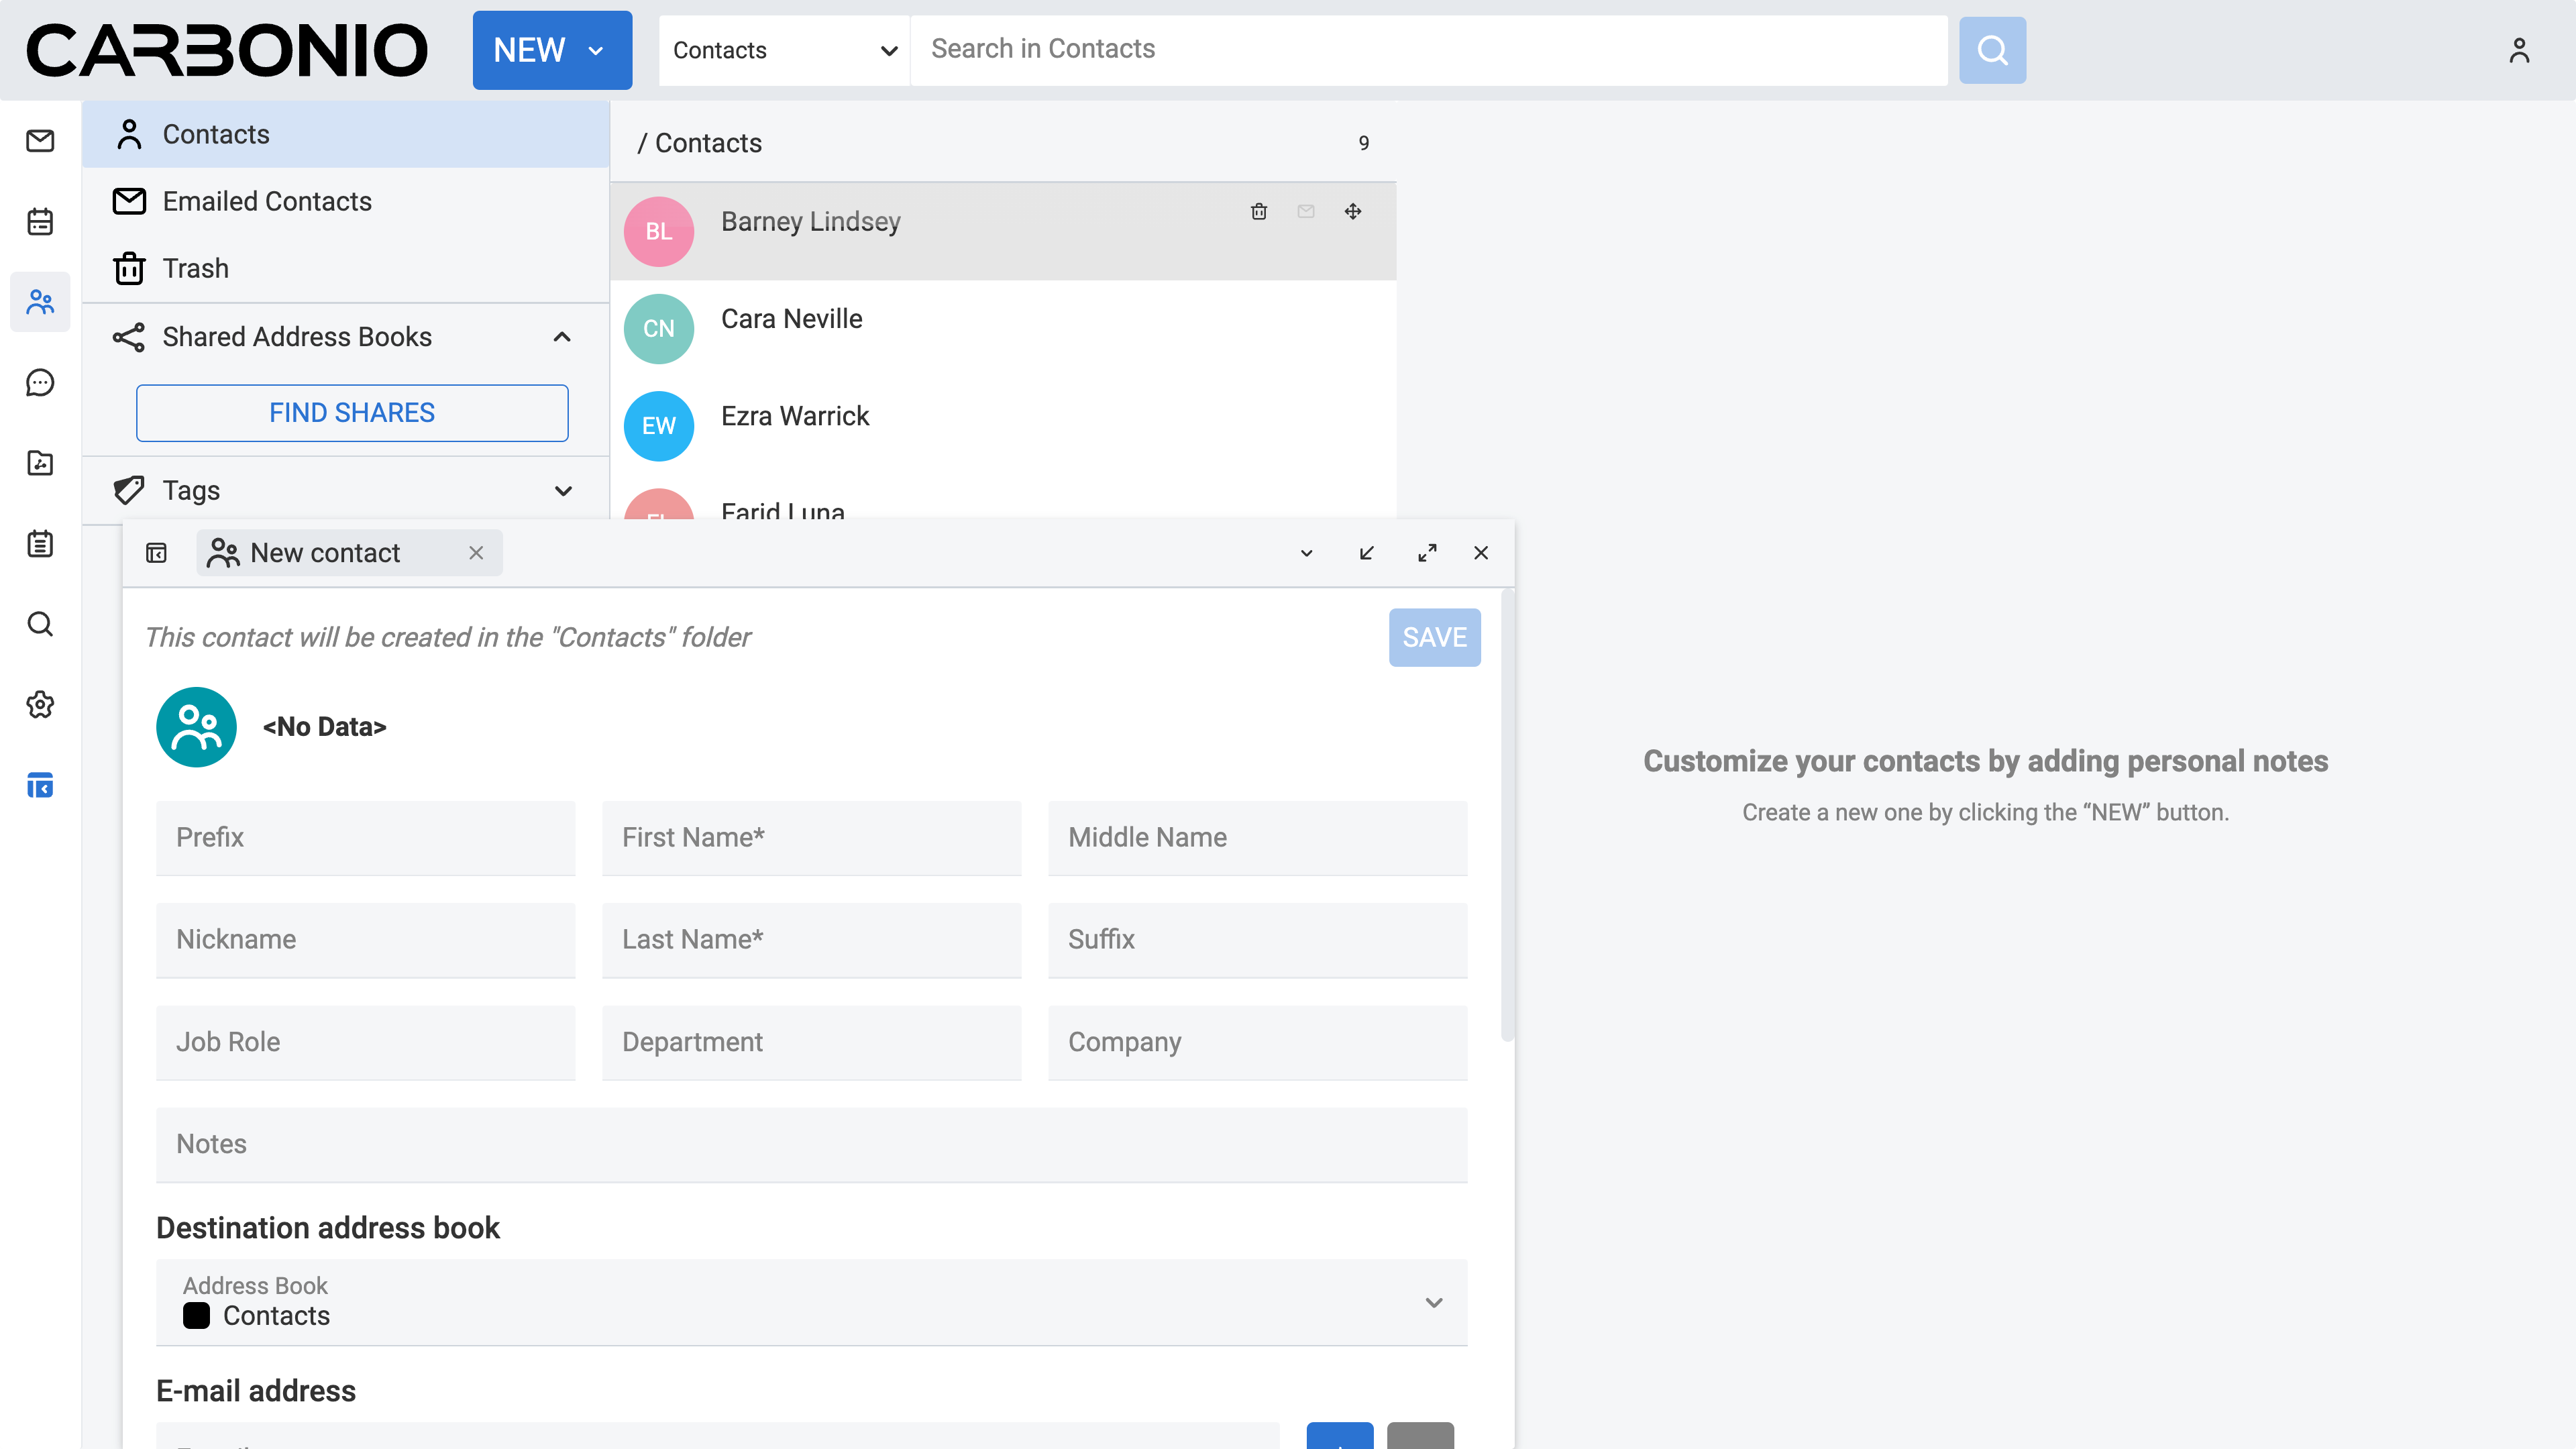
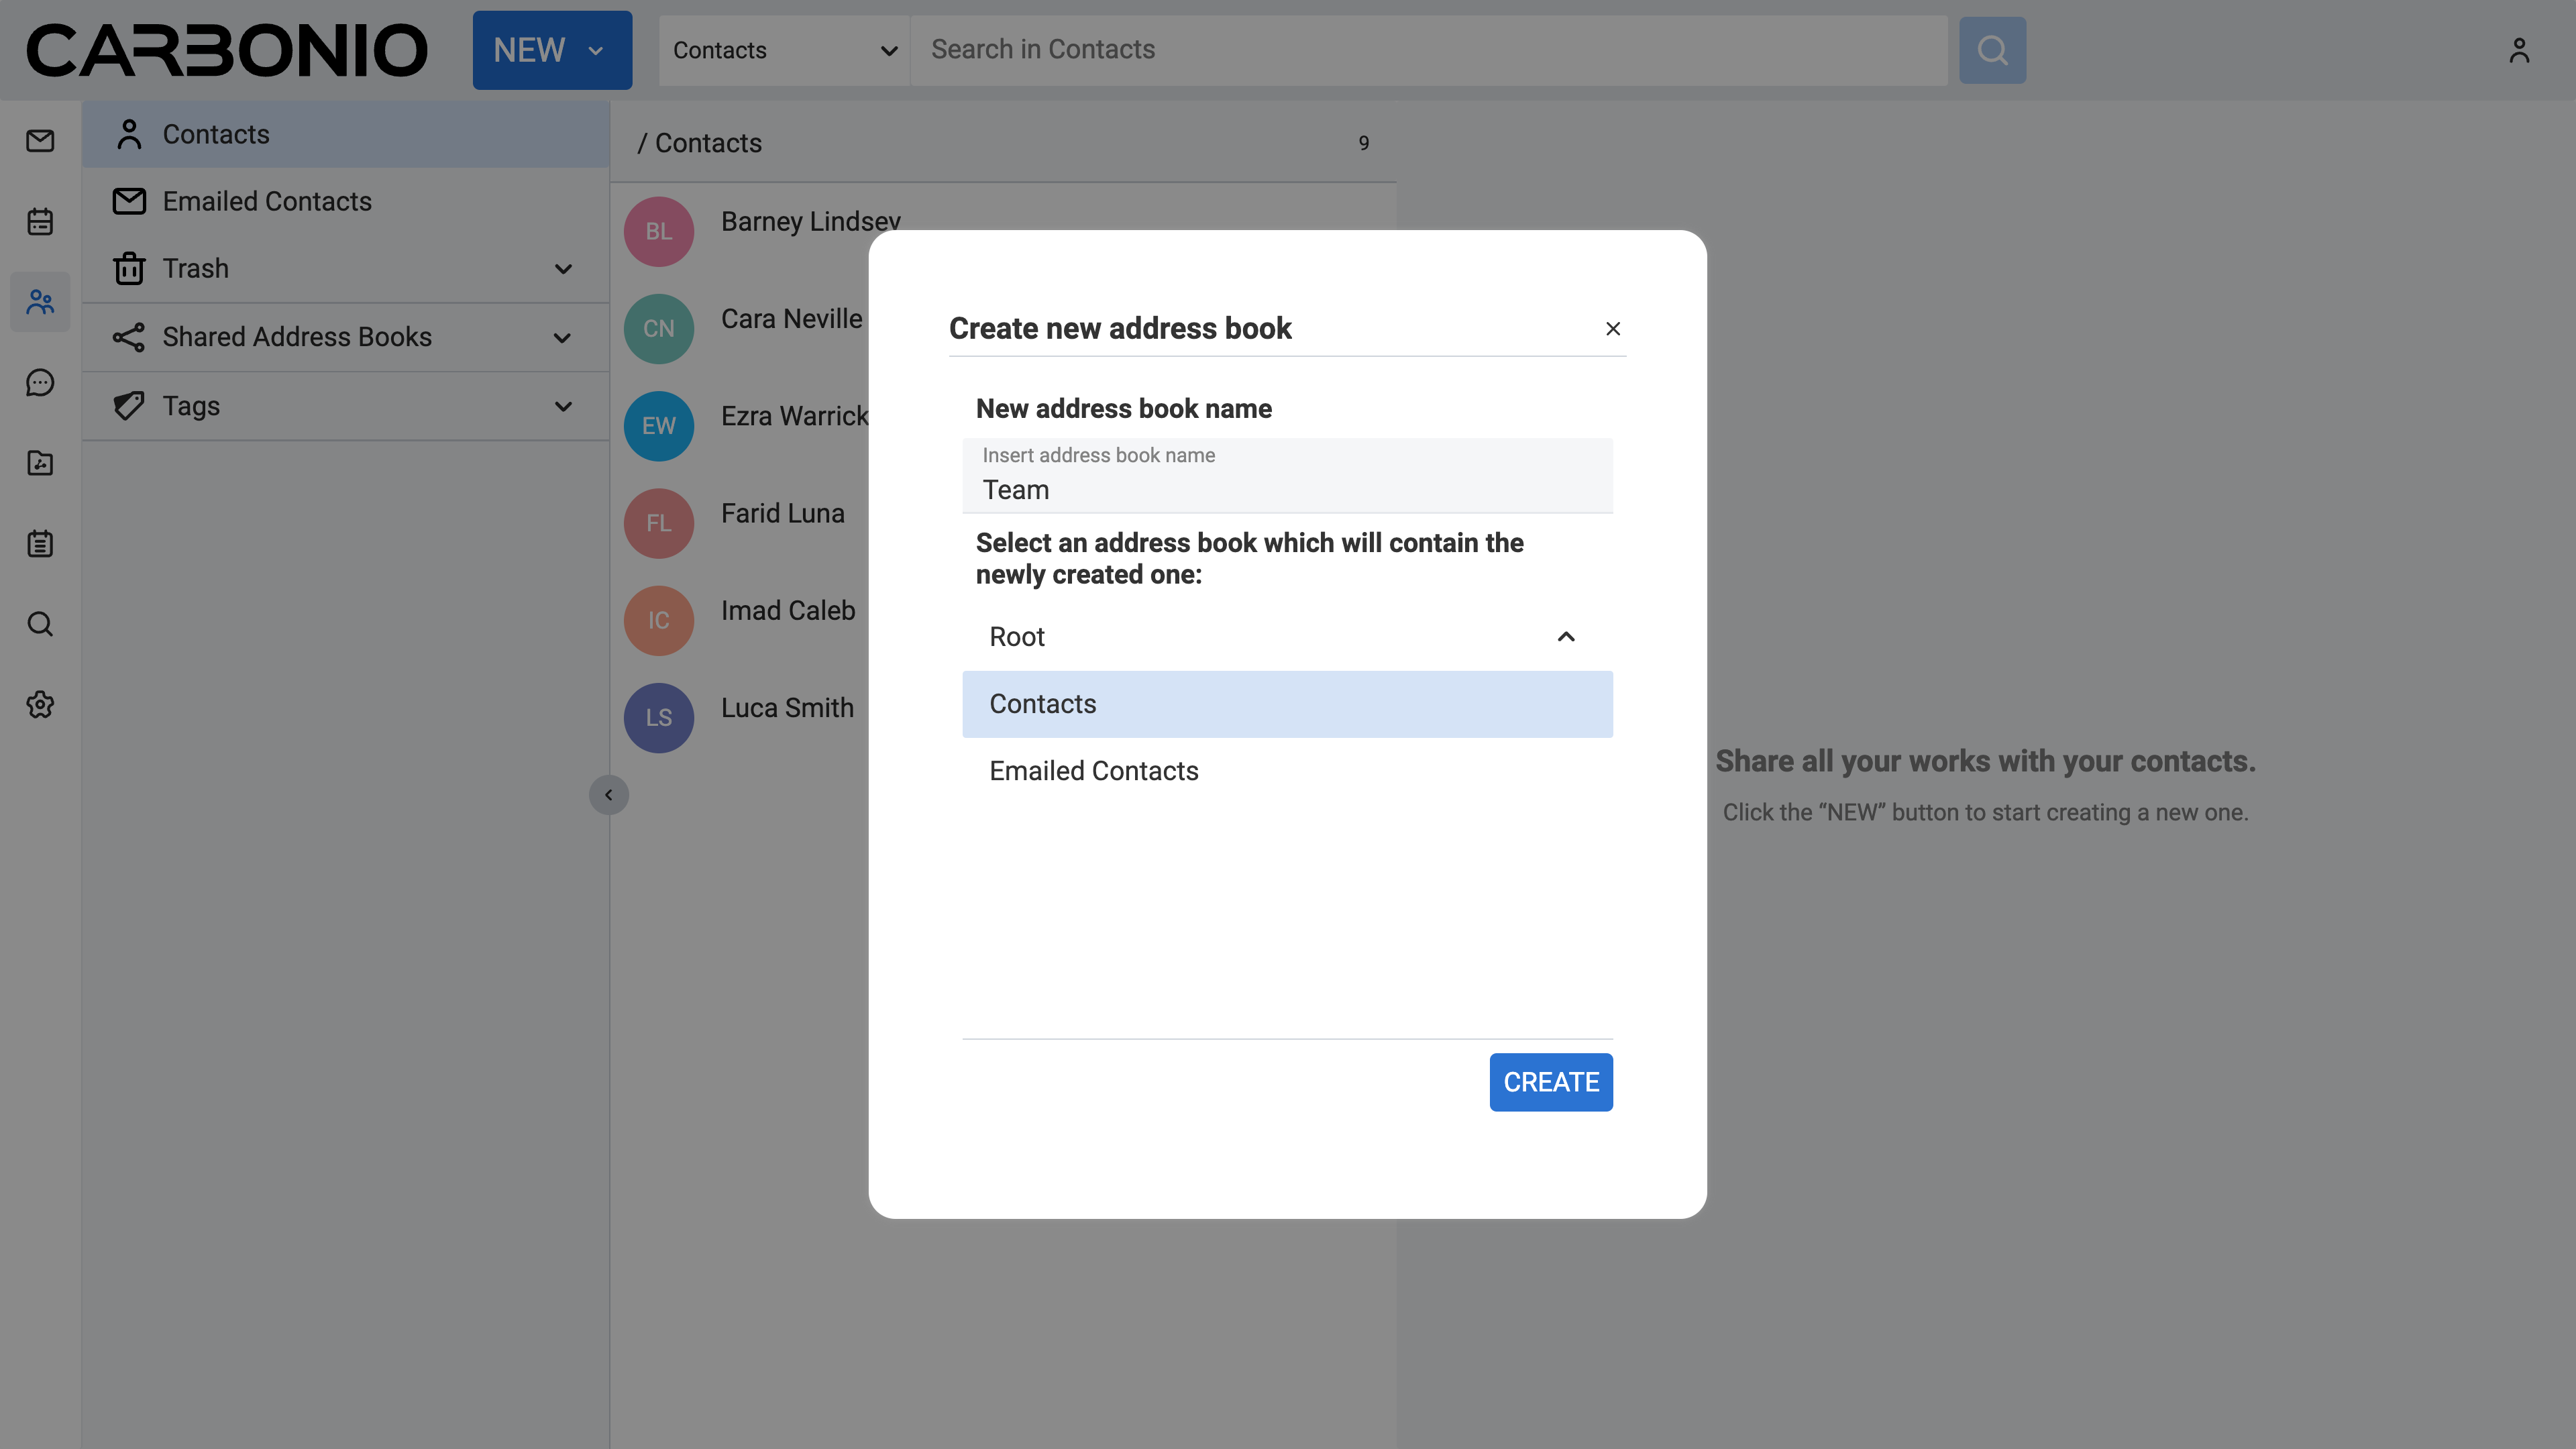
Select New address Book. A new board will appear.
Add a name for the address book.
Click the CREATE button.
Moving a Contact Between Address Books#
To move a contact between address books:
Select the Contacts from your left sidebar.
In the Navigation Panel, click the address book that contains the contact you wish to move.
Right-click the contact you want to move.
Select Move from the drop-down menu. A new window appears.
Select the destination address book.
Click the MOVE button.
Moving an Address Book#
To move an address book:
Select the Contacts from your left sidebar.
In the Navigation Panel, right-click the address book you wish to move.
Select Move from the drop-down menu. A new window appears.
Select the destination.
Click the MOVE button.
Editing an Address Book#
To edit an address book:
Select the Contacts from your left sidebar.
In the Navigation Panel, right-click the address book you wish to edit.
Select Edit address book from the drop-down menu. A new window appears.
Make the desired changes.
Click the EDIT button.
Assigning a Color to an Address Book#
To assign a color to an address book:
Select the Contacts from your left sidebar.
In the Navigation Panel, right-click the address book you wish to edit.
Select Edit address book from the drop-down menu. A new window appears.
Select the desired color from the Select Color field.
Click the EDIT button.
Deleting an Address Book#
To delete an address book:
Select the Contacts from your left sidebar.
In the Navigation Panel, right-click the address book you wish to delete.
Select Delete address book from the drop-down menu.
Click the DELETE button to confirm.
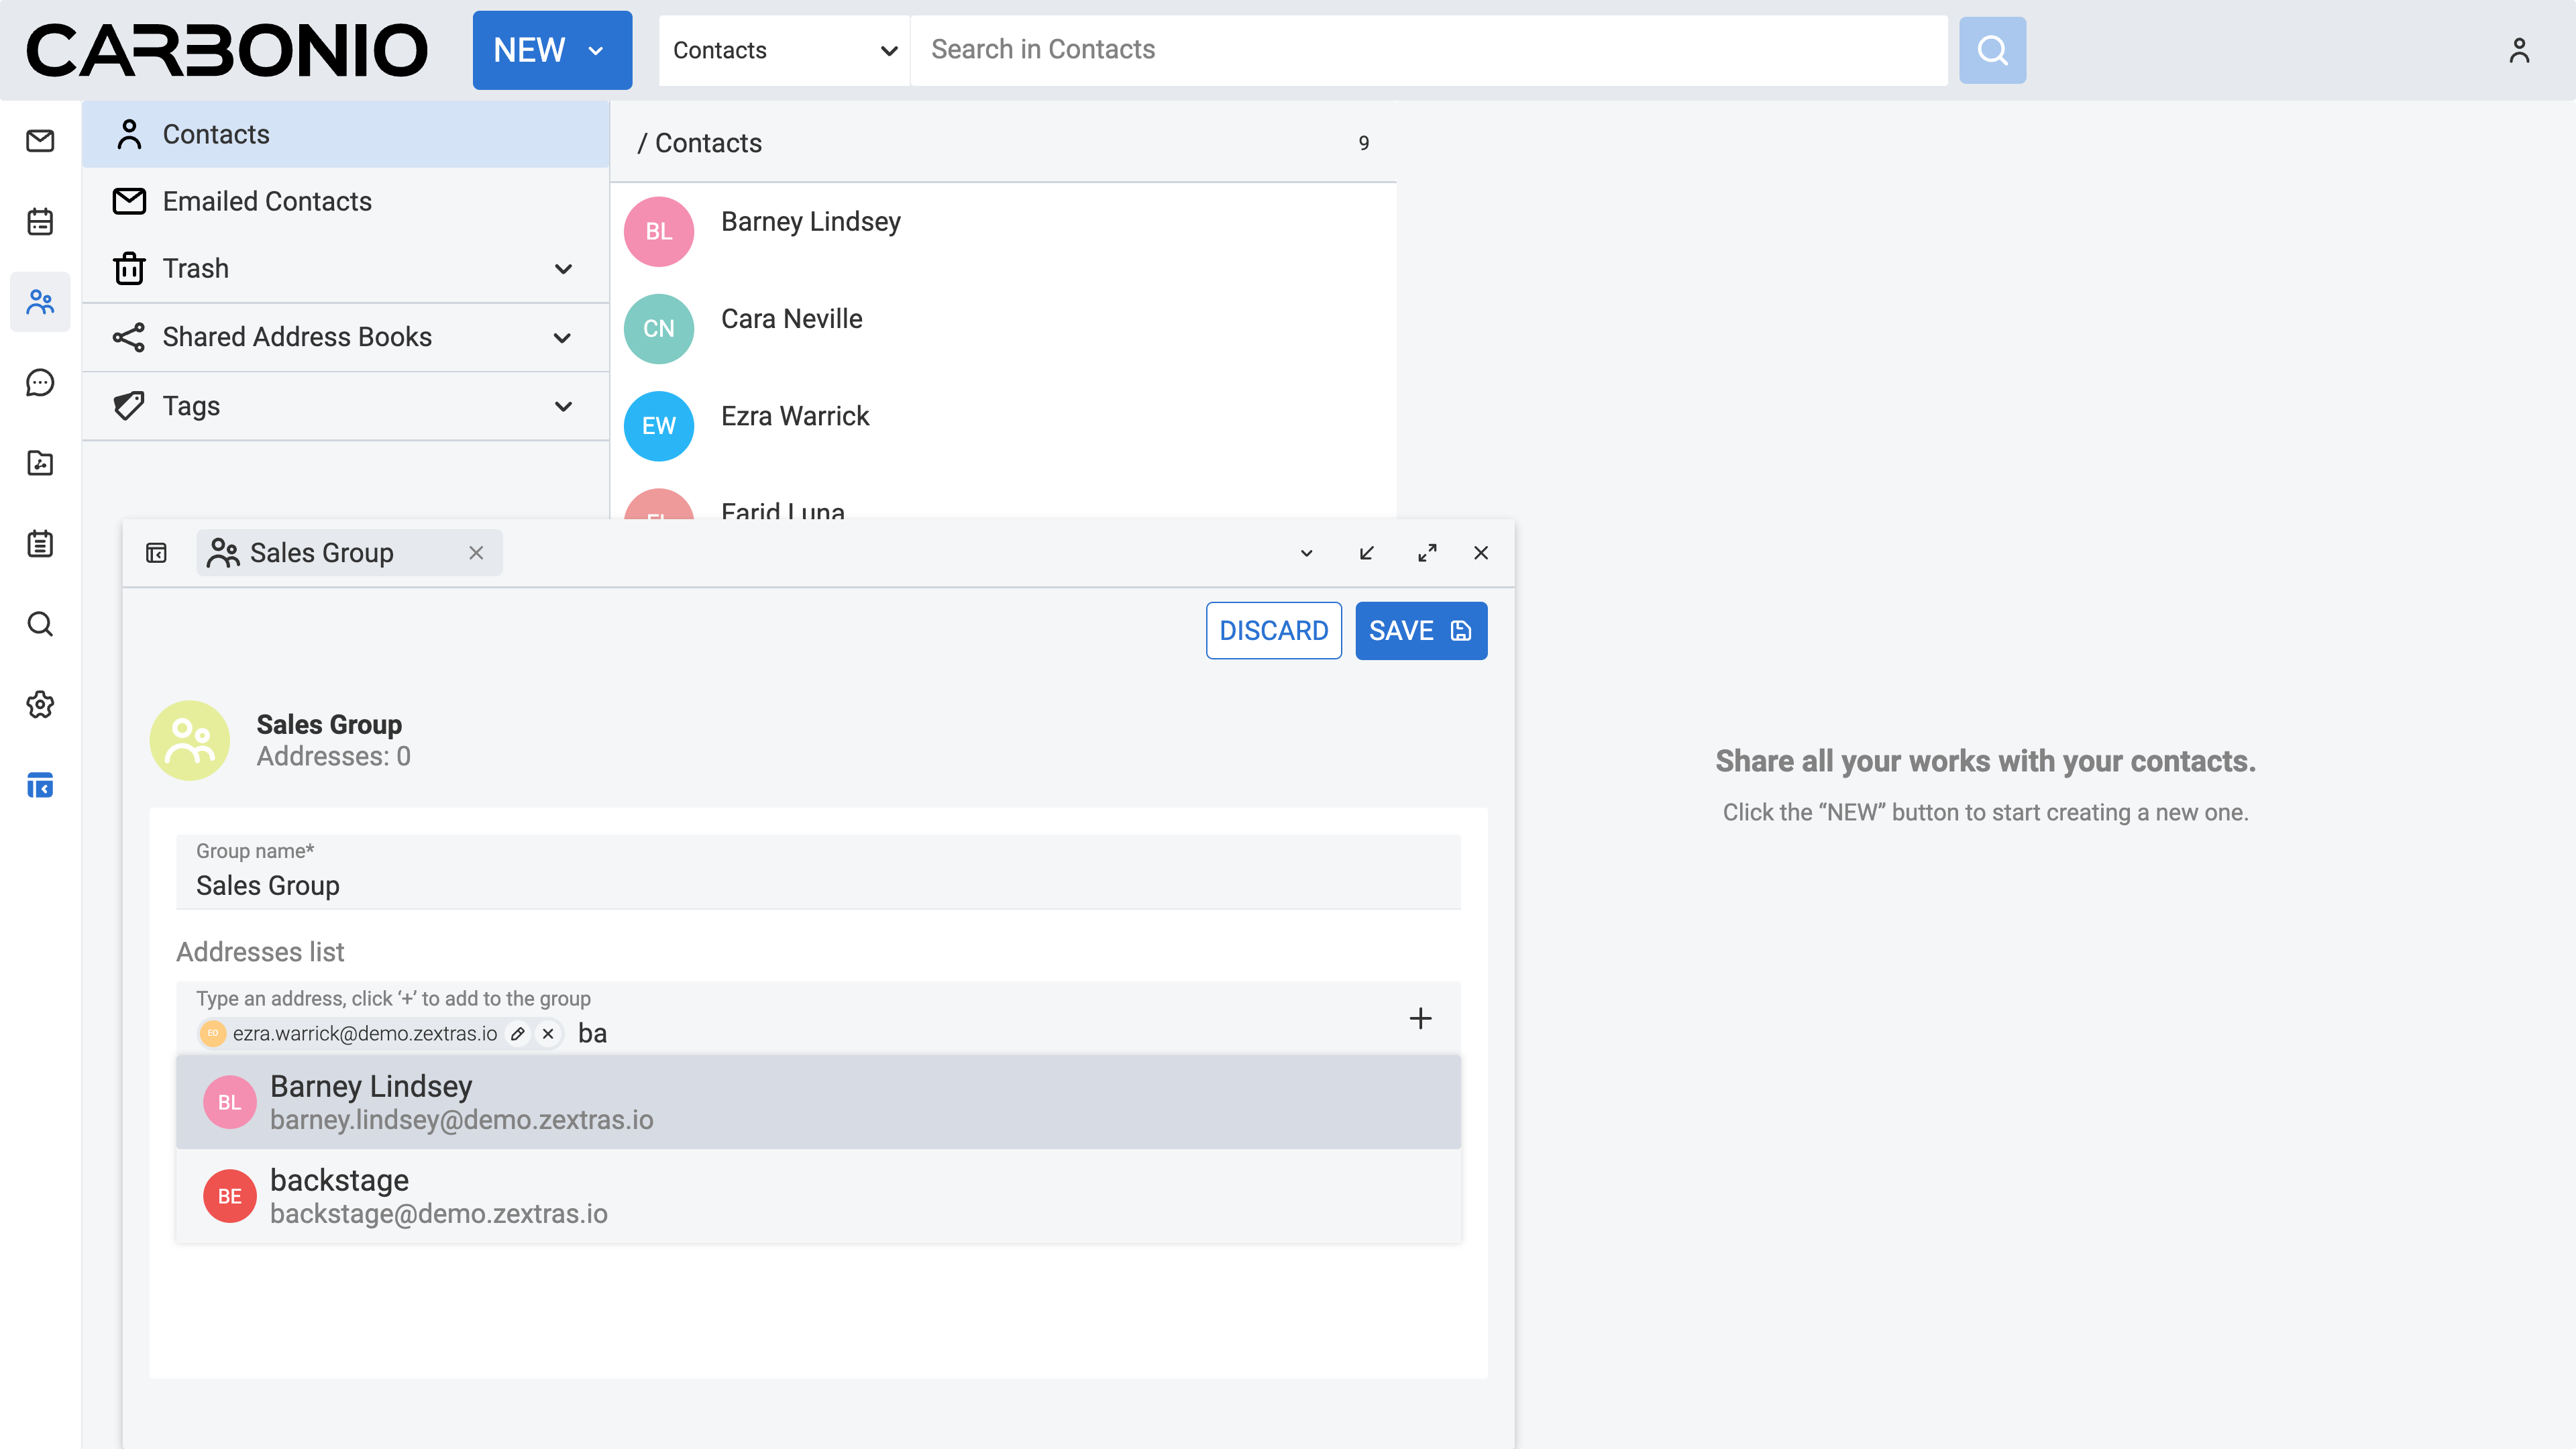
Creating a Contact Group#
Contact groups consist of a collection of email addresses sourced from your contacts. They serve as a practical solution, particularly when frequently emailing multiple recipients. By creating a group for such individuals, you streamline the process, allowing you to insert the entire group at once rather than adding each address individually when composing emails.
To create a contact group:
Select the Contacts from your left sidebar.
From the top bar, click the downward arrow next to the NEW button.
Select the New Contact group from the drop-down menu. A new board will appear.
Insert a name for the contact group in the Group name field.
Insert addresses you wish to add to this group by writing them under the Address list section.
Press the + button to add the address to the group.
Click the SAVE button.
Using a Contact Group#
To use your contact group:
Begin typing its name in the To field while composing a new email. As you type, the contact group name will appear as a suggestion.
Click the contact group, and it will automatically populate the To field with all the addresses included in the contact group.
Note
Fields marked with an asterisk (*) are mandatory.
Export an Address Book as a CSV File#
You can export and store your address book on your computer in CSV (comma-separated values) format. To do so:
Select the Contacts from your left sidebar.
In the Navigation Panel, right-click the address book you wish to export.
Select Export csv file from the drop-down menu. A new window appears.
Select the destination folder to save the CSV file on your computer.
Click Save.
Import a CSV File as an Address Book#
You can import the stored address book on your computer in CSV (comma-separated values) format to your Carbonio web client. To do so:
Select the Contacts from your left sidebar.
In the Navigation Panel, right-click on the address book you wish to import data in.
Select Import csv file from the drop-down menu. A new window appears.
Select the csv file containing the address book information stored on your computer.
Click Open.
The files to be imported must have the following format.
Example CSV file
"company","email","firstName","jobTitle","lastName","middleName","mobilePhone","namePrefix","nickname","workCity","workCountry","workPostalCode","workState","workStreet","workURL"
"ACME","j.doe@example.com","john","CEO","doe","","","","Boss",“Vicenza”,“IT”,“36100”,"","","www.example.com"
"ACME","m.jane@example.com","mary","CFO","jane","","+39 000000000","","MJ",“Vicenza”,“IT”,“36100”,"","","www.example.com"
"ACME","p.sullivan@example.com","Peter","Head of HR","Sullivan","Raymond","","mr","Ray",“Vicenza”,“IT”,“36100”,"","","www.example.com"
"ACME","d.smith@example.com","Donald","CTO","Smith",“”,"","","Don",“Vicenza”,“IT”,“36100”,“”,“”,"www.example.com"
Configure a CardDav Client#
Adding a Carbonio address book to your favourite CardDAV client is straightforward and requires only a few steps.
In this scenario, the user john.smith@example.com wants to import in Mozilla’s Thunderbird an address book from the domain mail.example.com. In the remainder, replace these values with suitable ones.
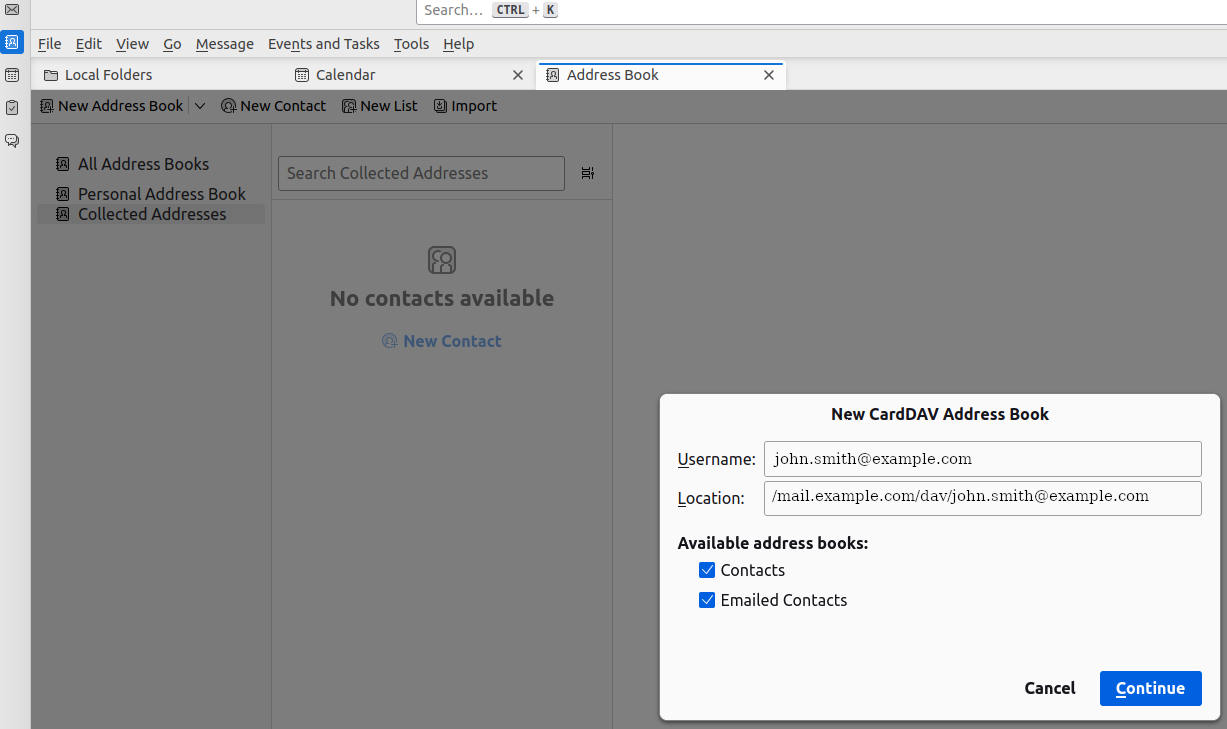
On your client, go to the Calendar and select New Address Book,
providing the Username and the Location, which has format
https://<domain>/dav/username, so
https://mail.example.com/dav/john.smith@example.com

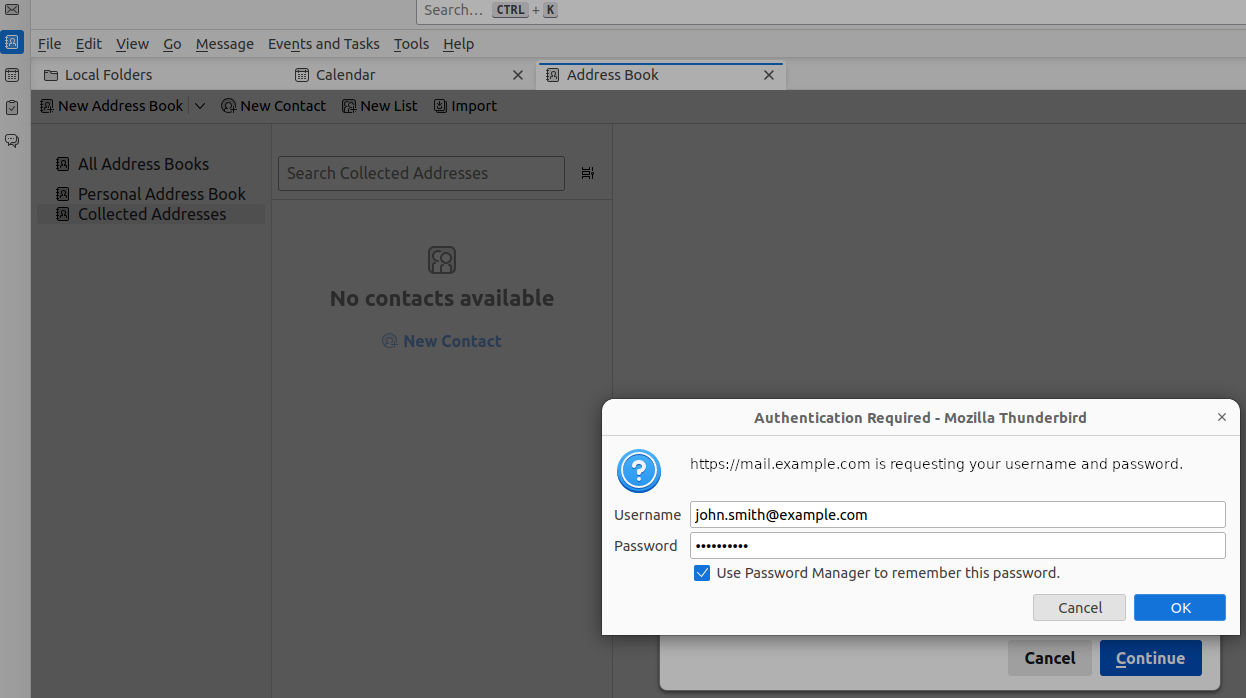
Authenticate to Carbonio by inserting the username and password to access the address book.
You will be then presented a list, from which to choose the address books to import in the client.
You are now done! The imported address books will show up in the list of your client.