

Composing Emails#
In this section, you will discover how to navigate Carbonio email composer and how to use its various features including working with attachments, addressing emails, using account personas, etc.
Composing a New Email#
Below is a concise summary of the steps to write and send an email:
Select the Mails feature from your left sidebar.
Click on the NEW button located on the top bar. A new compose board will appear.
Enter recipient email addresses in the To field.
Optionally, add recipients to the Cc or Bcc fields.
Choose your email identity/persona (if you have more than one) from the top left corner of the composing board.
Write a brief subject in the Subject field.
Compose your message in the body.
Click the SEND button to send the email.
A copy of the sent email is stored in your Sent folder.
The Visual Cue feature displays a clear placeholder label when emails are sent with only CC or BCC recipients and no direct ‘To’ recipients, improving message visibility and recipient understanding.
This feature enhances email clarity by providing immediate visual information about recipient types, helping you better understand how messages were distributed. To identify emails with empty ‘To’ fields:
Look for the [Empty ‘To’ Field] label in your message list
Open any email showing this placeholder to view details
The same label will appear in the message displayer for confirmation
Use this visual cue to understand the email’s recipient distribution
Disabling / Enabling Rich Text Editor#
To toggle the rich text editor on or off while using the compose board, simply:
Click on the three vertical dots.
Choose either Disable rich text editor or Enable rich text editor from the menu.
On the other hand, enabling the rich text editor can be beneficial when you want to create visually appealing emails with formatting options like bold, italics, underline, font colors, and font sizes. It allows you to customize the appearance of your emails to make them more engaging and professional-looking. Additionally, the rich text editor often provides tools for inserting images, creating lists, and adjusting text alignment, which can enhance the overall presentation of your email and improve readability. Disabling the rich text editor can be useful when you want to compose emails with plain text only, without any formatting such as bold, italics, or color changes. This can help send simple, straightforward messages without any distractions or potential compatibility issues across different email clients.
Addressing Emails#
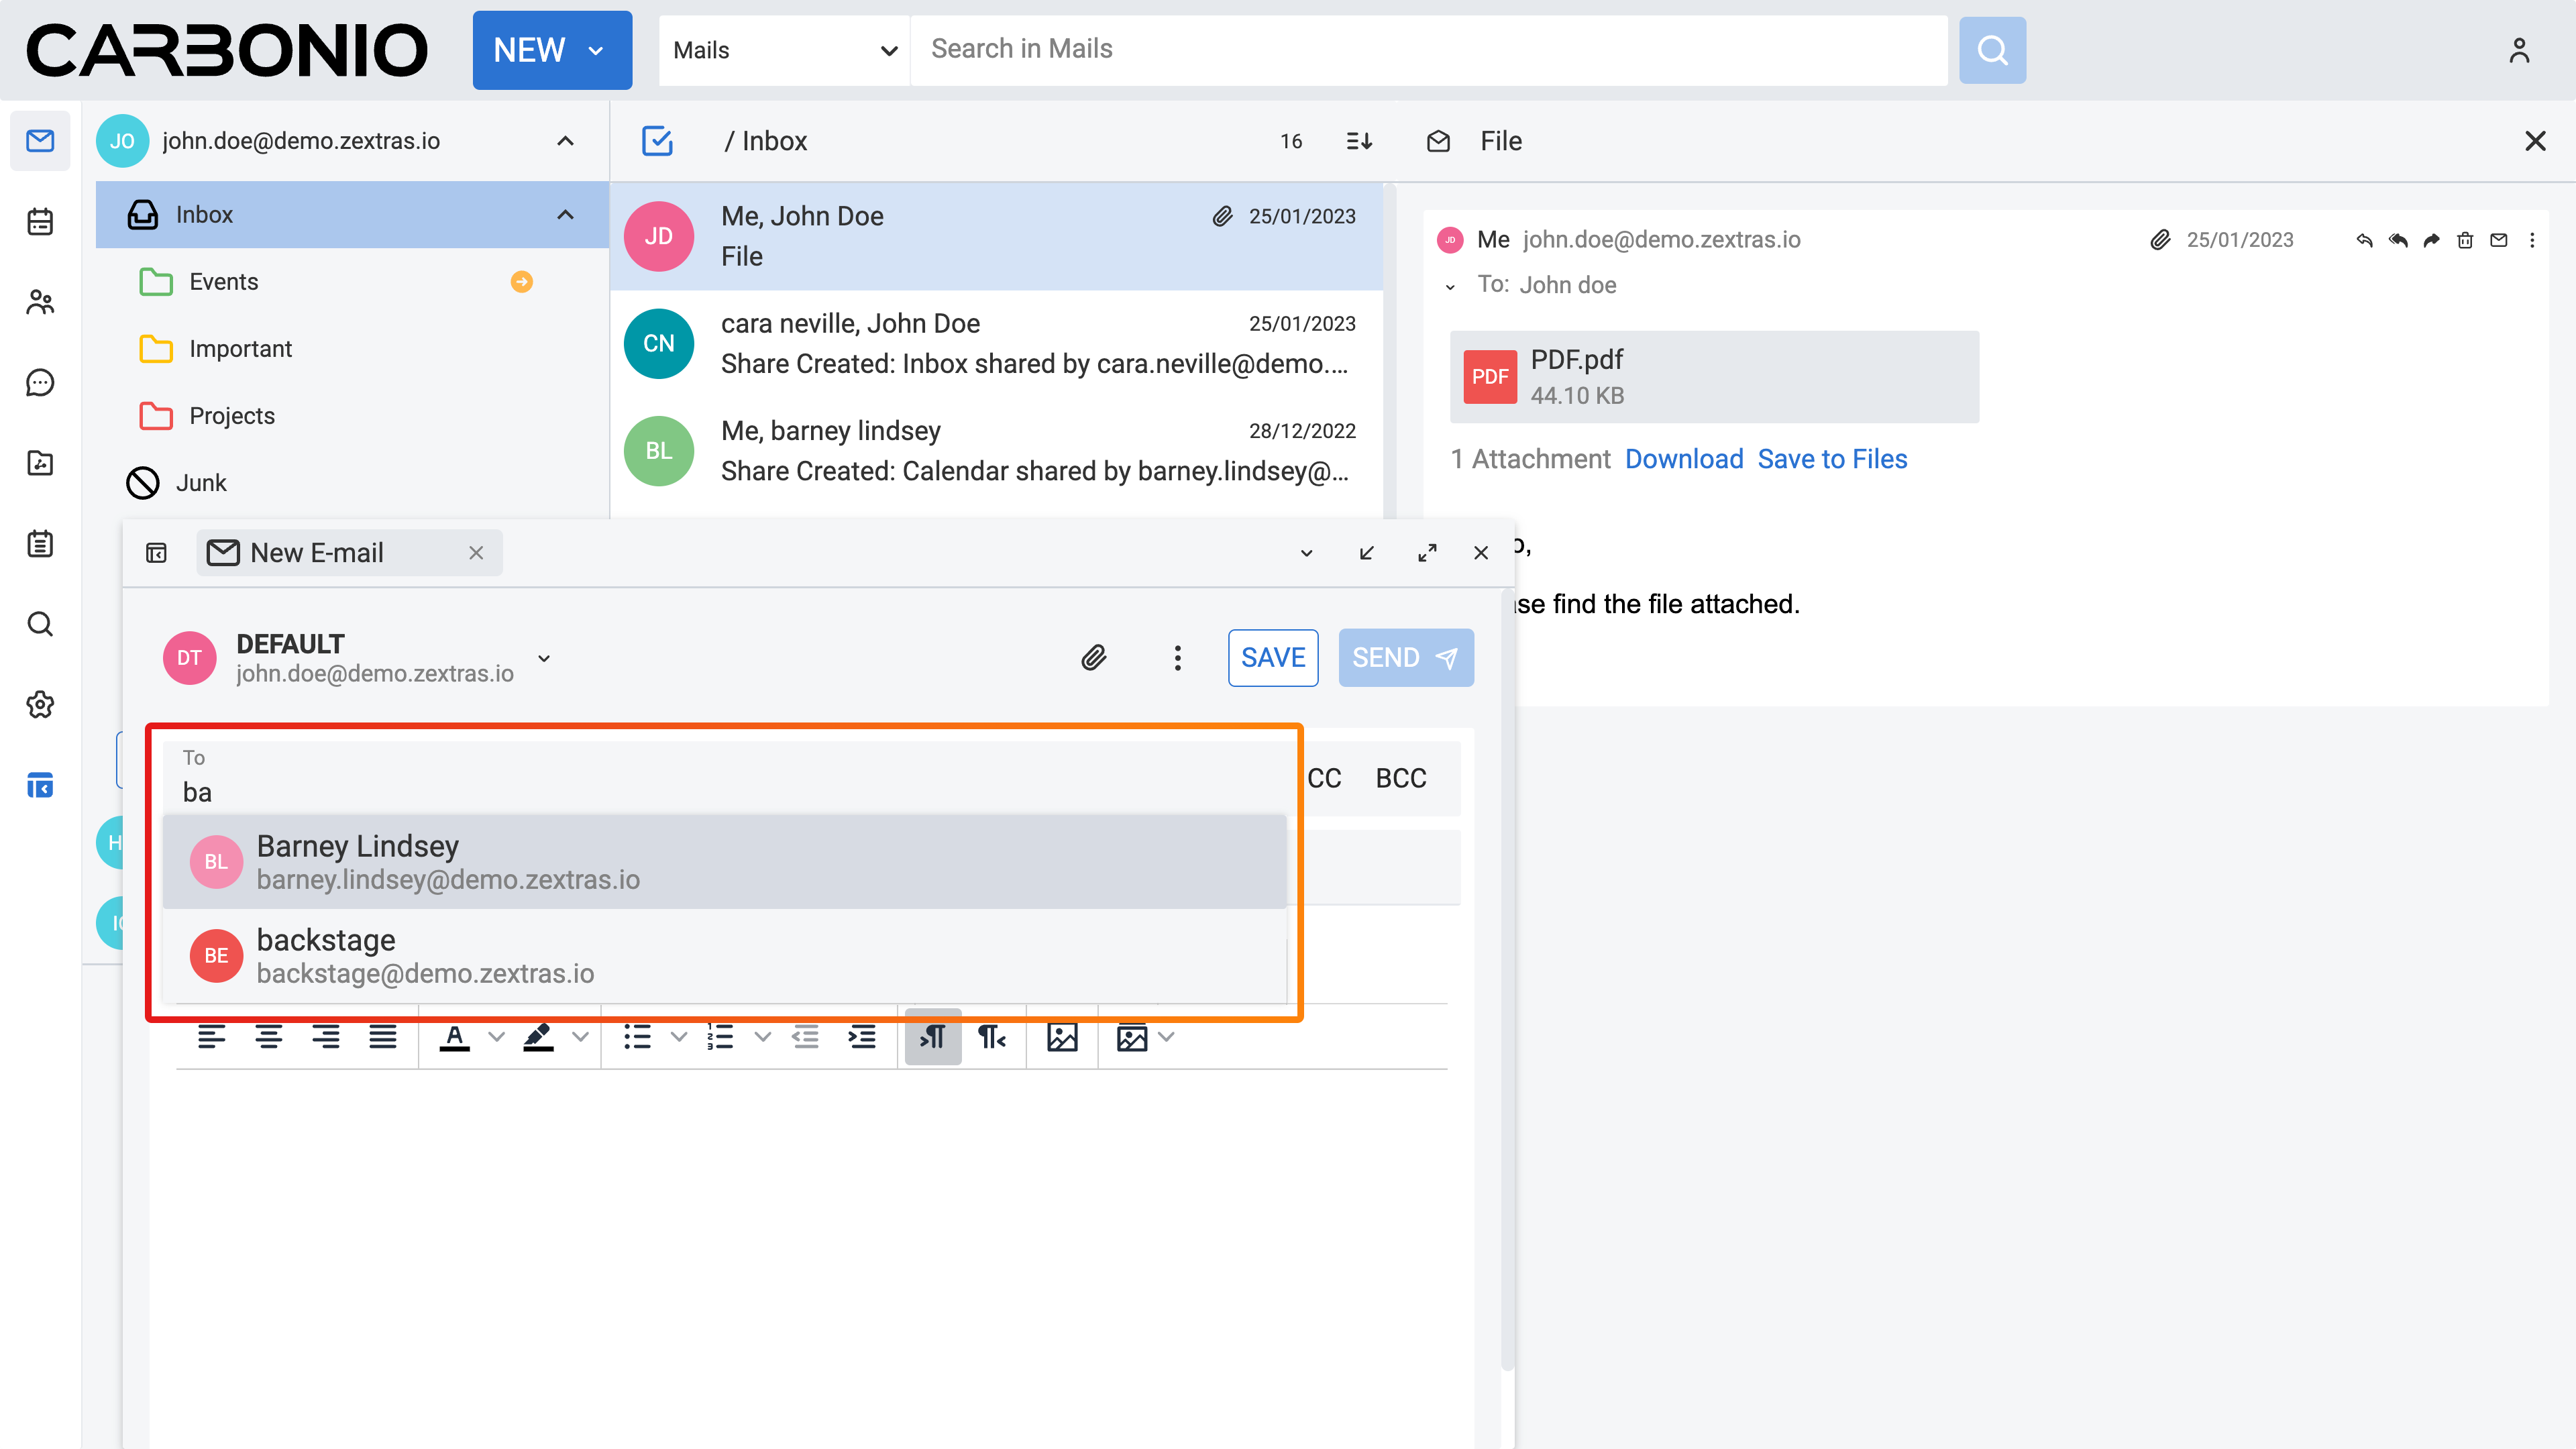
The autocomplete function assists you while typing in the To, Cc, and Bcc fields of a new message by suggesting names from your contacts. It generates a list of potential addresses where either the first name, last name, or email address matches the text you have typed.
As you continue typing, the list of suggested addresses narrows down, reflecting fewer matches available. If there are no matches in your contact list or your company’s employee address list, the list disappears.
For instance, if you are composing an email to Sarah Johnson, whose email is , and you start typing “S” the autocomplete might display:
Samuel Adams
Sarah Johnson
Susan Lee
If you then type “a” (Sa), the list will update to:
Samuel Adams
Sarah Johnson
Continuing with our example, if you proceed to type “m” (Sam), the autocomplete list would further narrow down to:
Samuel Adams
This real-time refinement allows for a quick and efficient selection of recipients based on the characters you input, ensuring accuracy and ease of use in addressing your email messages.
To include additional recipients in either the copy or blind copy sections of your email, just click on the CC or BCC buttons to reveal their respective fields.
Additionally, you can utilize the drag-and-drop feature to effortlessly move email addresses from the To field to the Cc or Bcc fields while composing your message. To do so, simply click and hold on an address bubble and drag it to the desired field.
You can also copy-paste email addresses directly into the To, CC, and BCC fields, while composing an email: furthermore, a small contextual menu appears when you right-click in the To, CC, or BCC fields, so you can directly click “Paste” to insert email adresses, you previously copied, in the related fields.
Attachments#
Attachments play a crucial role in enhancing the effectiveness of email communication by allowing users to include supplementary files such as documents, images, videos, or spreadsheets along with their messages. Below, you will discover various actions you can take with attachments while composing an email.
Adding Attachments#
You can attach any file from your computer or Carbonio Files by using the paperclip icon inside the composing board.
Adding attachment from your computer:
Click on the paperclip icon.
Select Add from local.
A new window appears, and you can select desired files from your computer.
Alternatively, you can simply drag a file from your computer to the composing board to add it as an attachment to your email.
Adding attachment from your Carbonio Files:
Click on the paperclip icon.
Select Add from Files.
A new window appears, and you can select desired files from your Carbonio Files.
It is important to note that computer viruses are commonly transmitted through file attachments. As a precaution, system administrators may block incomin cdg emails containing certain types of attachments, particularly those with extensions such as .EXE or .ZIP as part of their filename. If you send an email to someone whose email system blocks these attachments, you may not receive any notification about the blocking. Therefore, it is advisable to confirm with your recipient whether they have received the attachment or not.

Managing Large Attachments#
When you want to attach large attachments to an email, you may encounter some limitations. When you reach the size limit set by your admin for the attachments, using the “smart links” option, it is possible to convert every attachment in Smart Links by clicking the paperclip icon inside the composing board and choosing the “Add public link from Files option”.
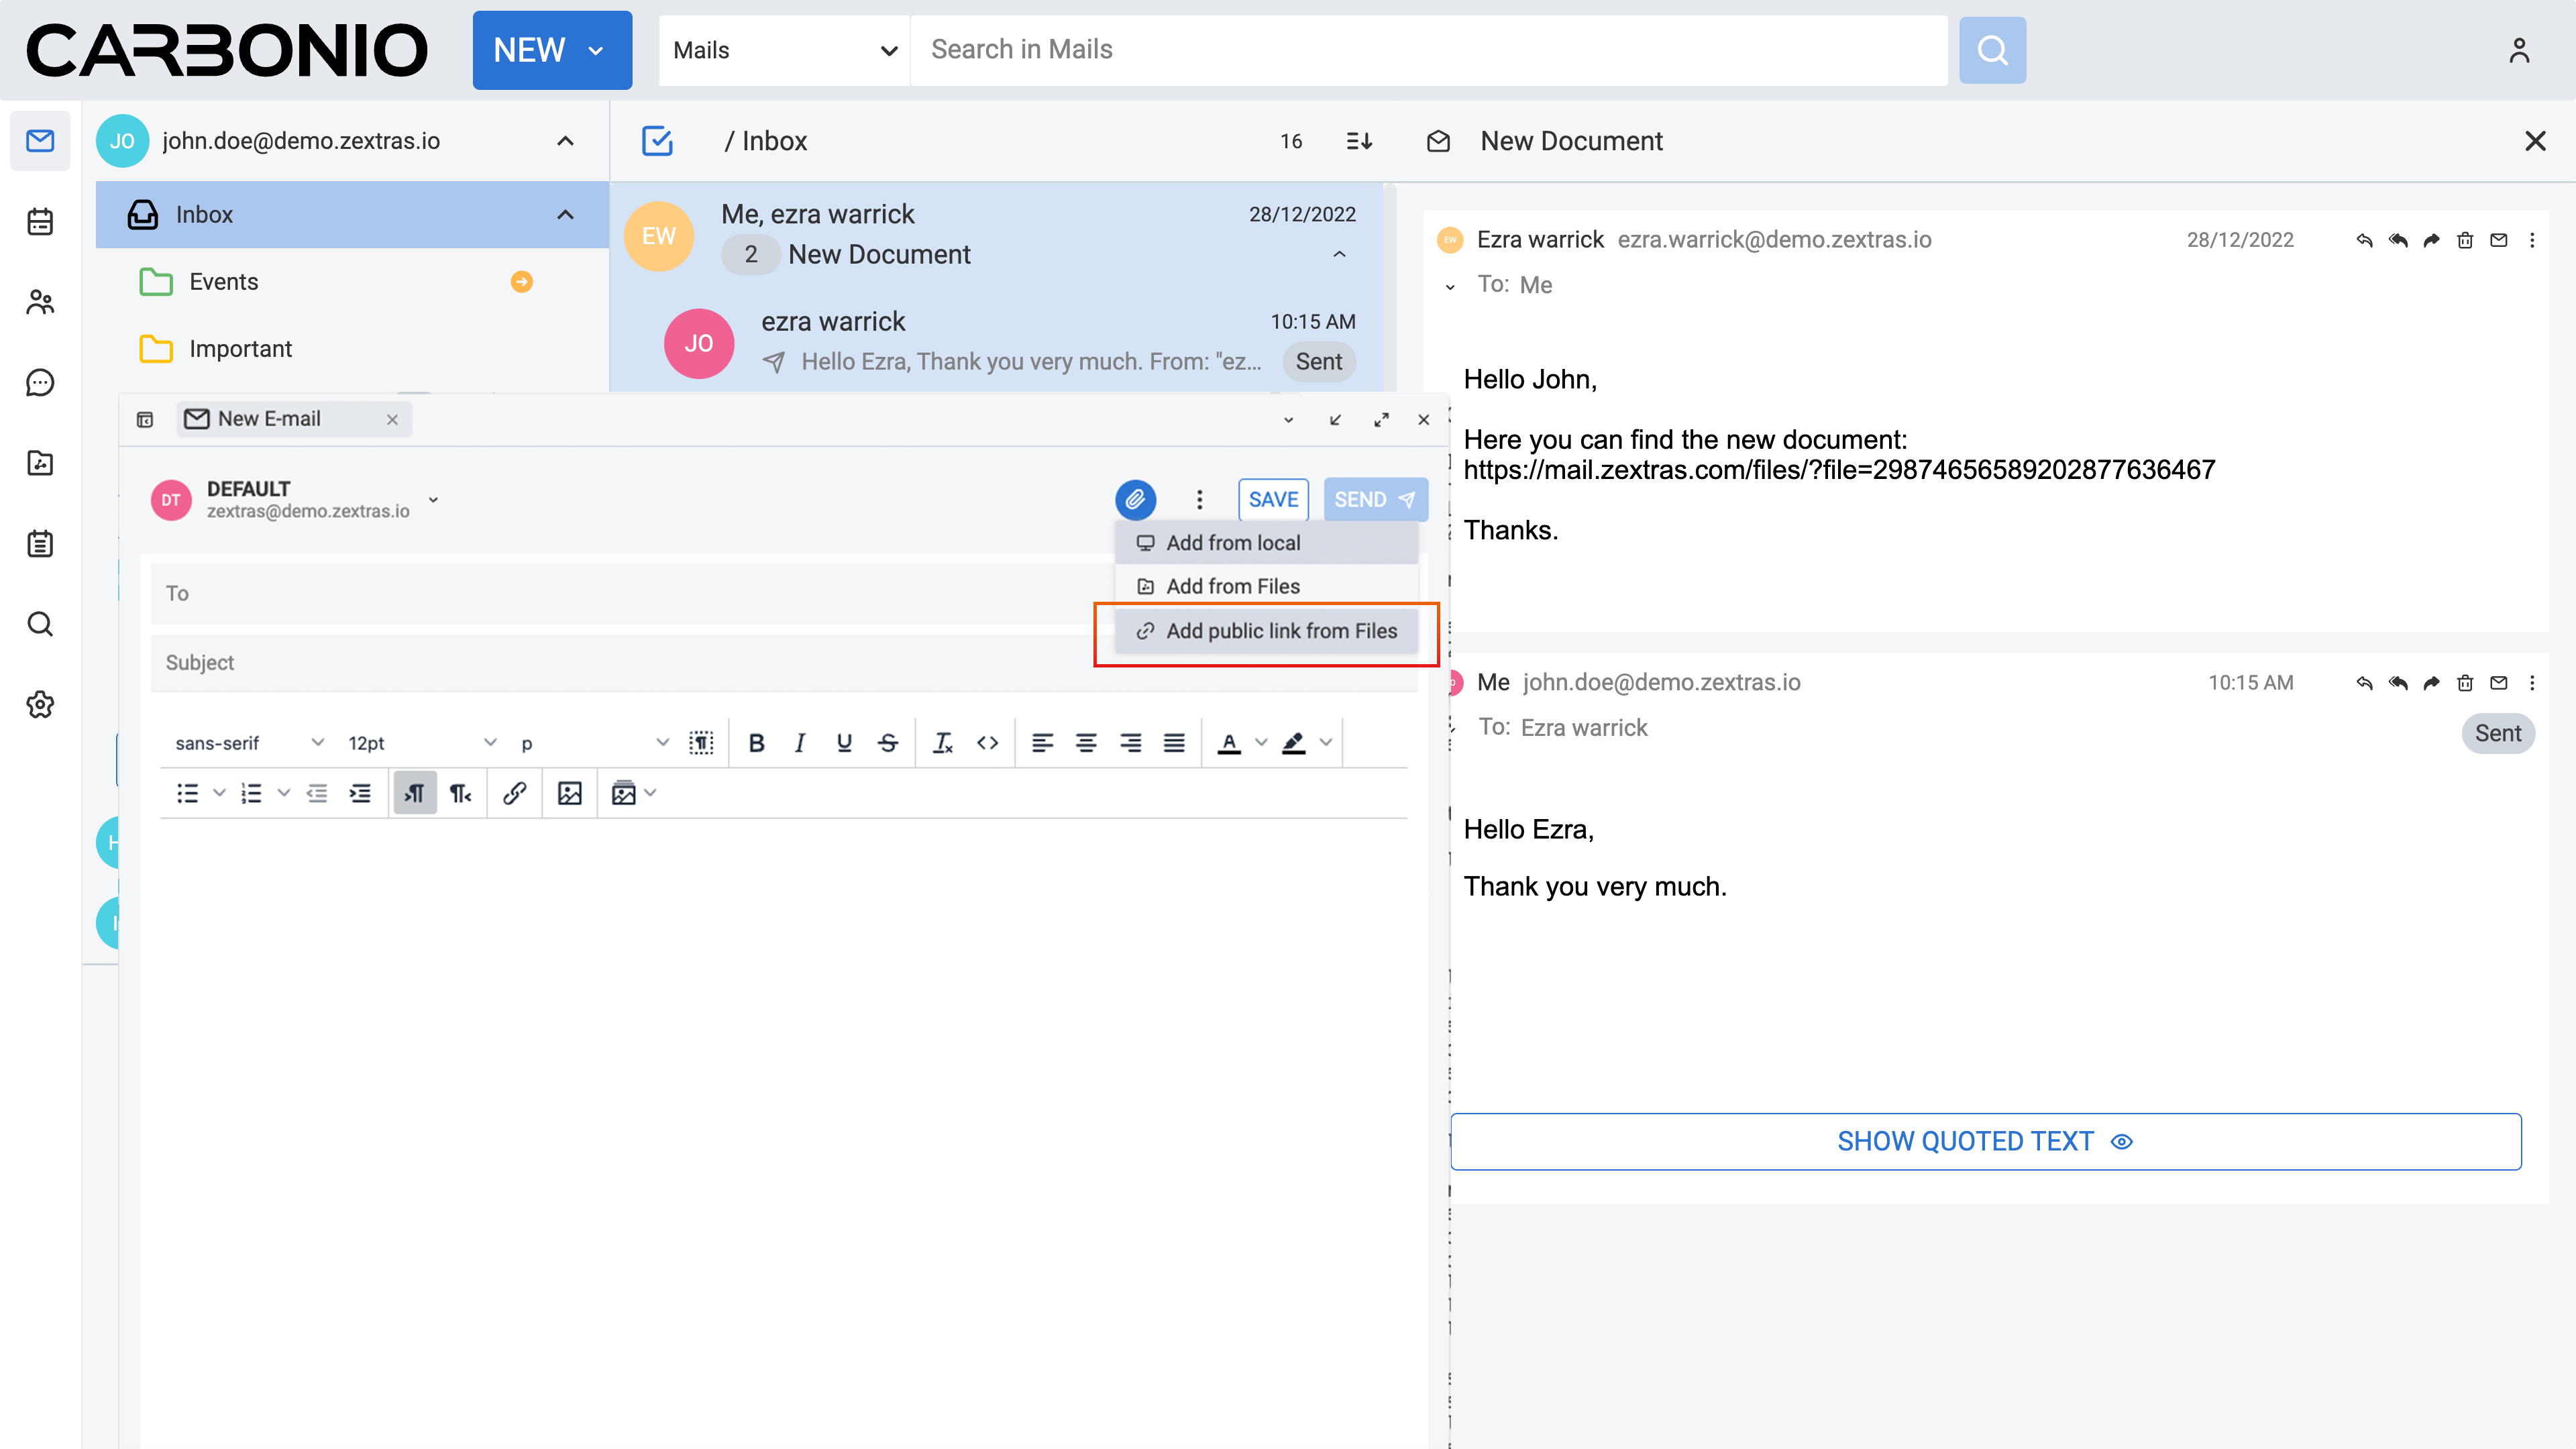
Afterwards, simply follow the path and select the folder inside Files, where is located the file you want to send.
Removing Attachments#
To remove an attachment from the email you are composing, simply click on the Remove button located beneath the attachment.
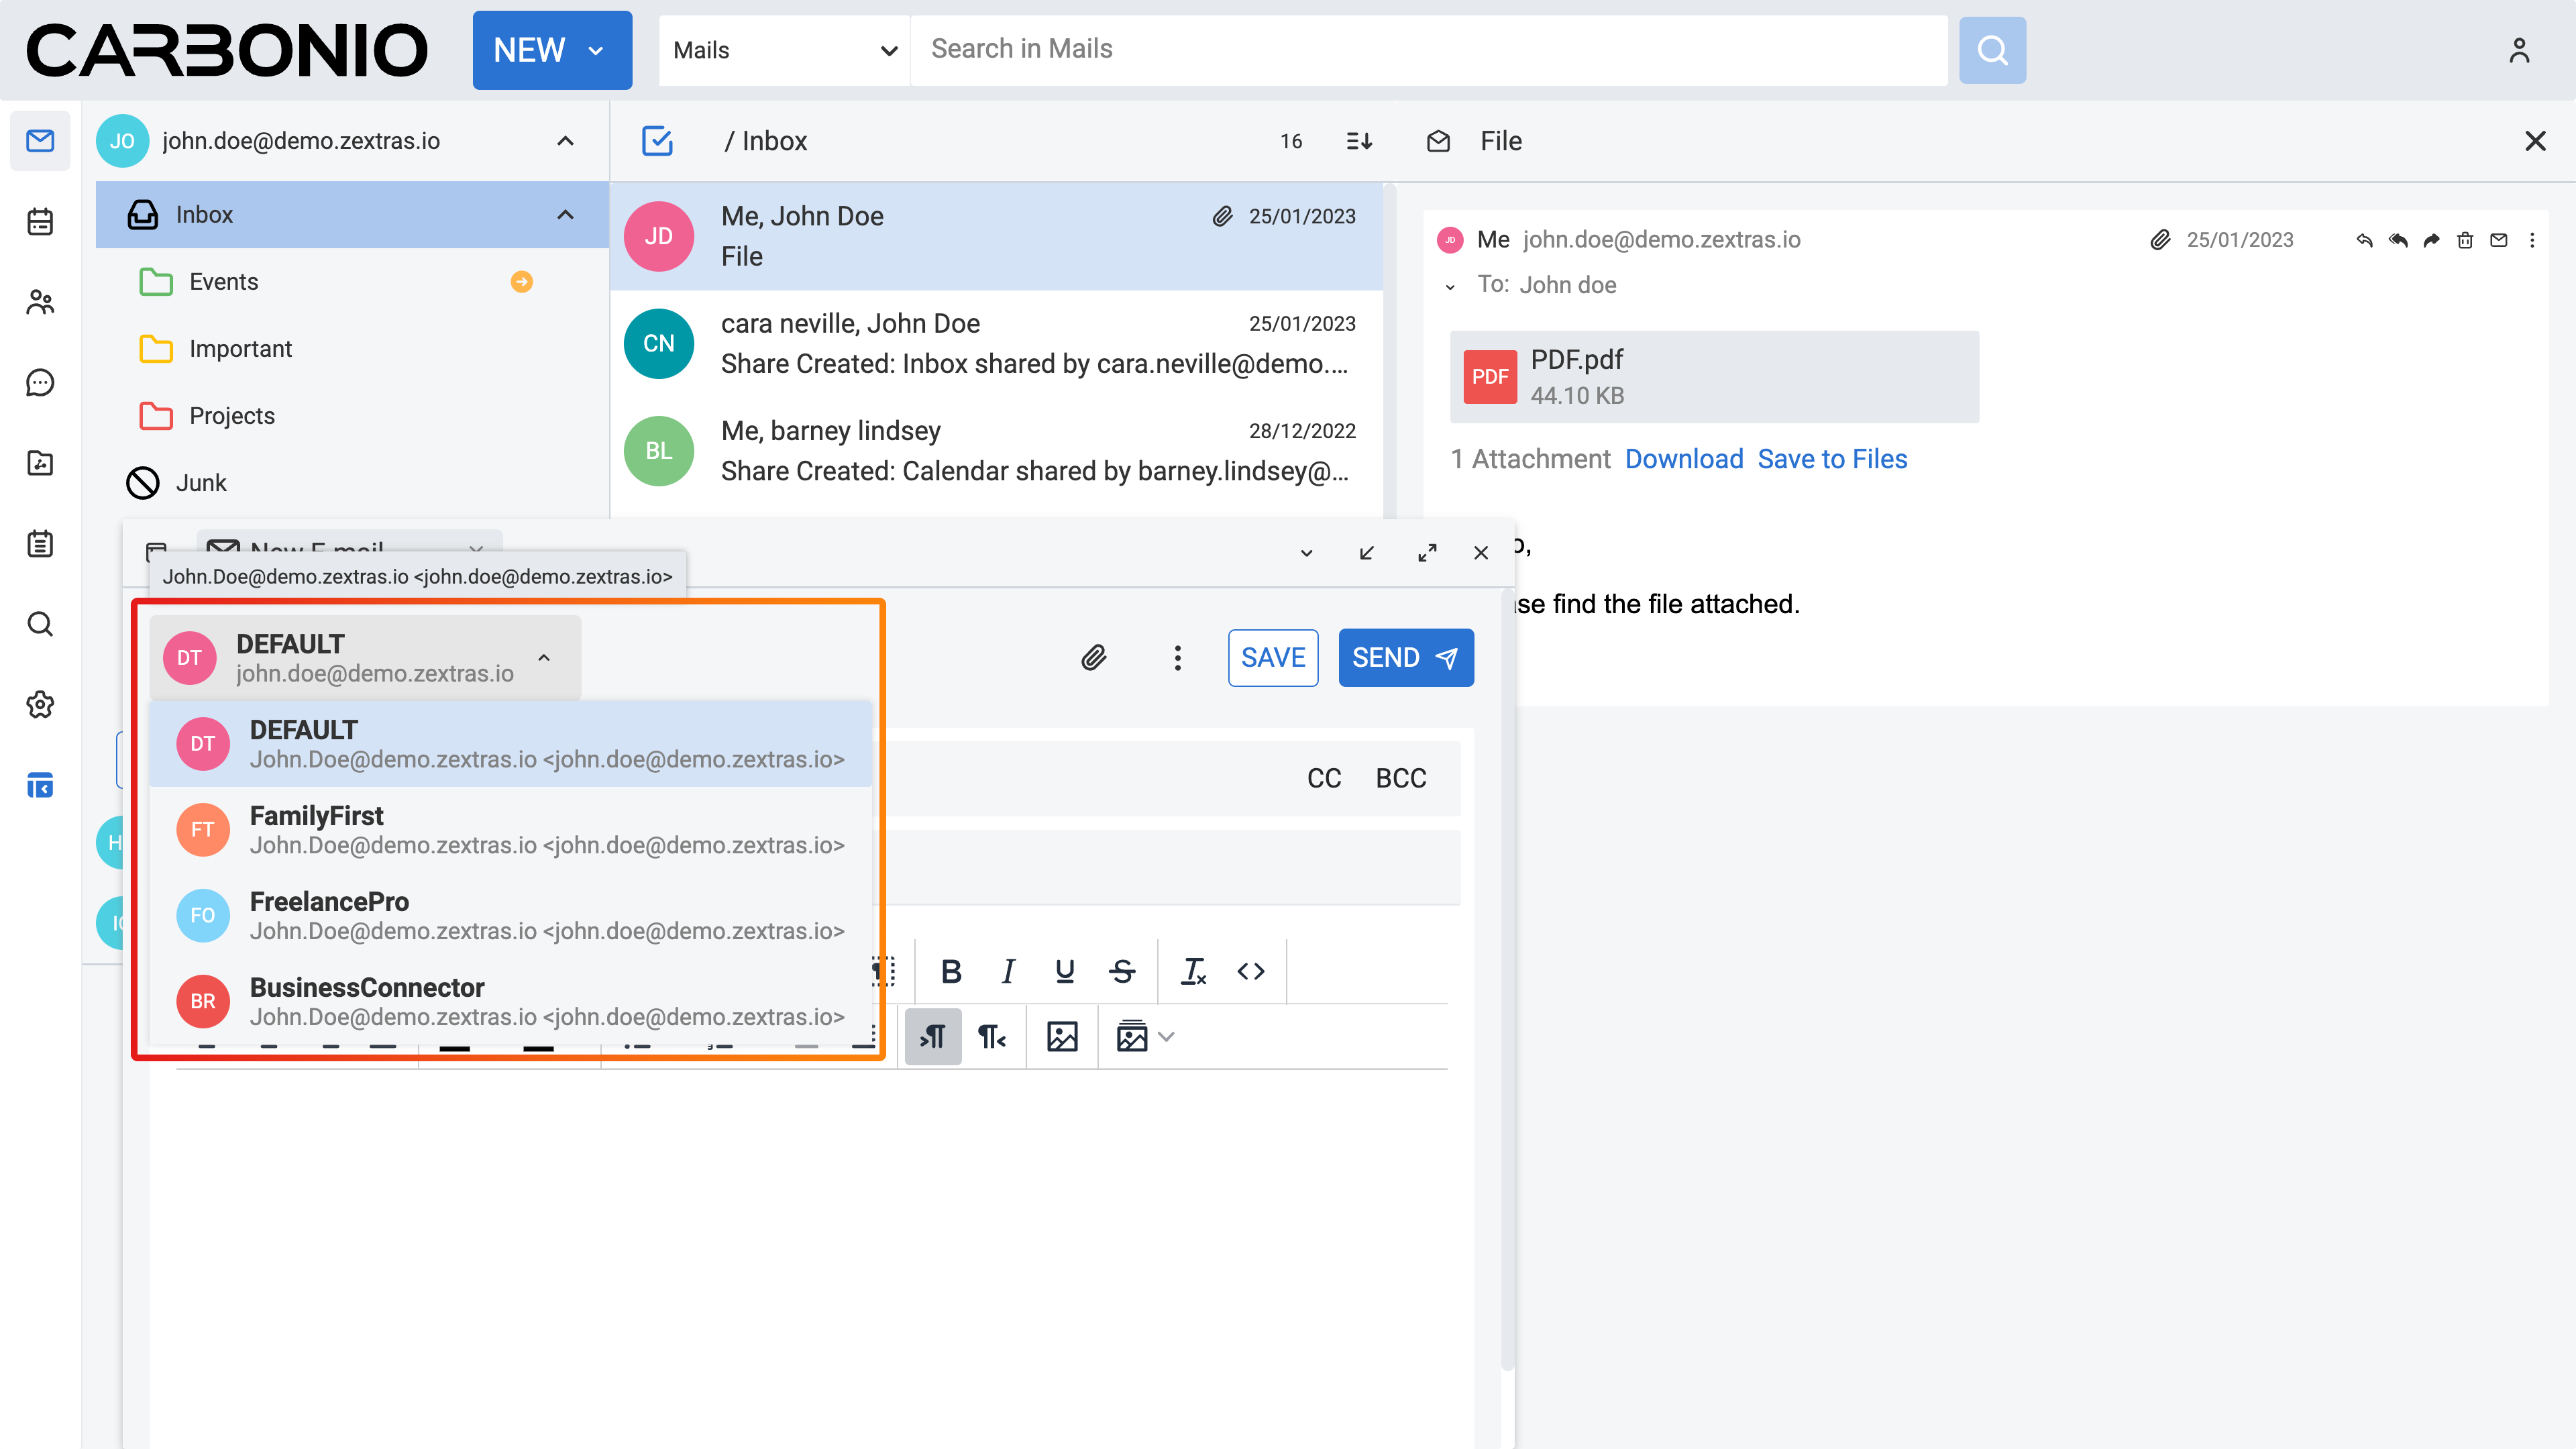
Send an Email from a Different Account or Persona#
You can send emails from different personas or email identities while composing a message.
This feature is available if you have multiple identities or personas set up.
An email identity refers to having access to multiple accounts on the Carbonio web client, allowing you to choose which one to send the email from. Alternatively, if you have configured another persona in your settings, you can send messages from it. In either case, the recipient will see the email address or username aligned with the selected identity or persona as the sender of the emails.
To switch identities or personas, follow these steps:
Click on your email address located at the top left corner of the composing board.
Choose your preferred identity or persona from the menu.
Request a Read Receipt#
You can configure your email to automatically request a read receipt when your colleague opens your sent email.
Read receipts are useful to use when you need confirmation that your email has been received and opened, especially in time-sensitive or important communications, for accountability purposes, or in situations where tracking engagement is crucial, such as in sales or marketing endeavors.
To request a read receipt while composing an email:
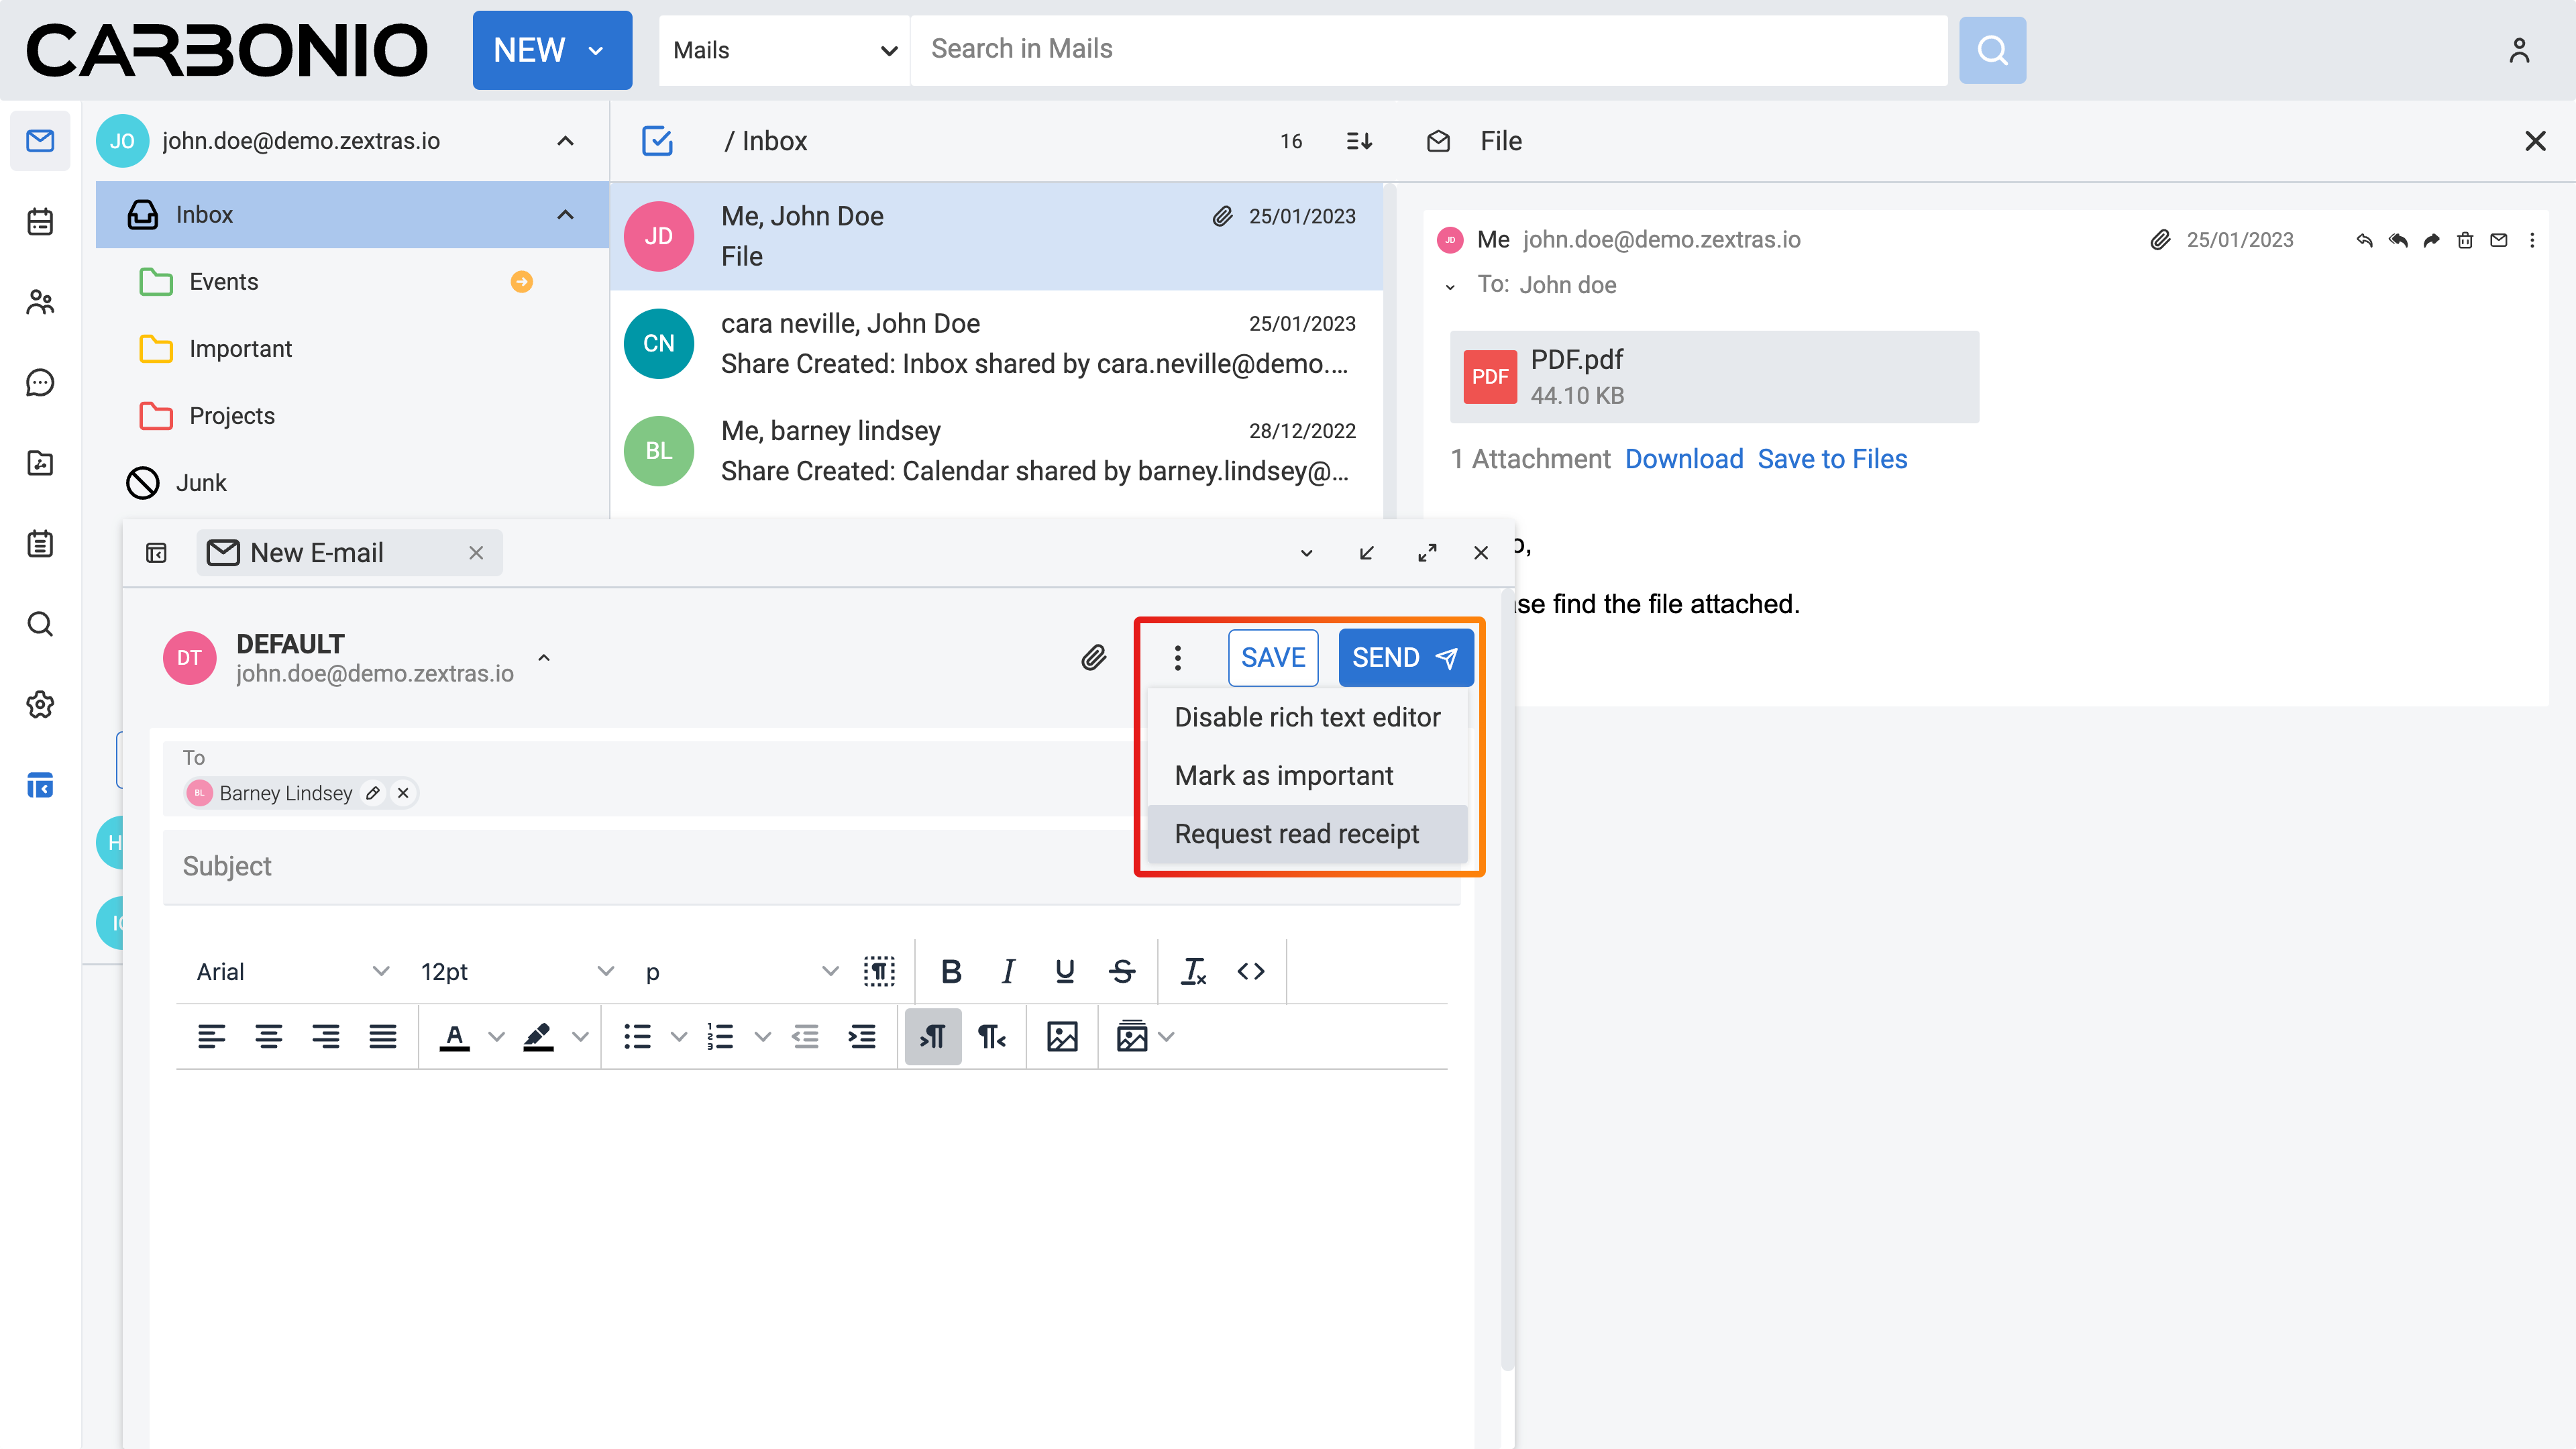
Click on the three vertical dots located within the composing board at the top right corner.
Select Request read receipt.
Please note that, in case you receive an email with a read receipt you can choose between Do not notify or Notify options, so that the tab will not reappear in the future. If you simply dismiss the tab by clicking x, the pop up banner will reappear the next time you open the same email.
Mark an Email as Important#
To mark the email, you are composing for your colleague as important, follow these steps:
Click on the three vertical dots located within the composing board at the top right corner.
Choose Mark as important.
Important emails will be indicated by a red upward arrow in front of the subject line within your colleagues’ web client.
Save an Email as a Draft#
While composing an email, if you need to send it later or finish it in the future, you can save it as a draft by following these steps:
Click on the “x” button located at the top right corner of the composing board.
A new window will open, then click on the SAVE DRAFT button.
Your email will be saved in the Draft folder accessible from your navigation panel.
Send a Drafted Email#
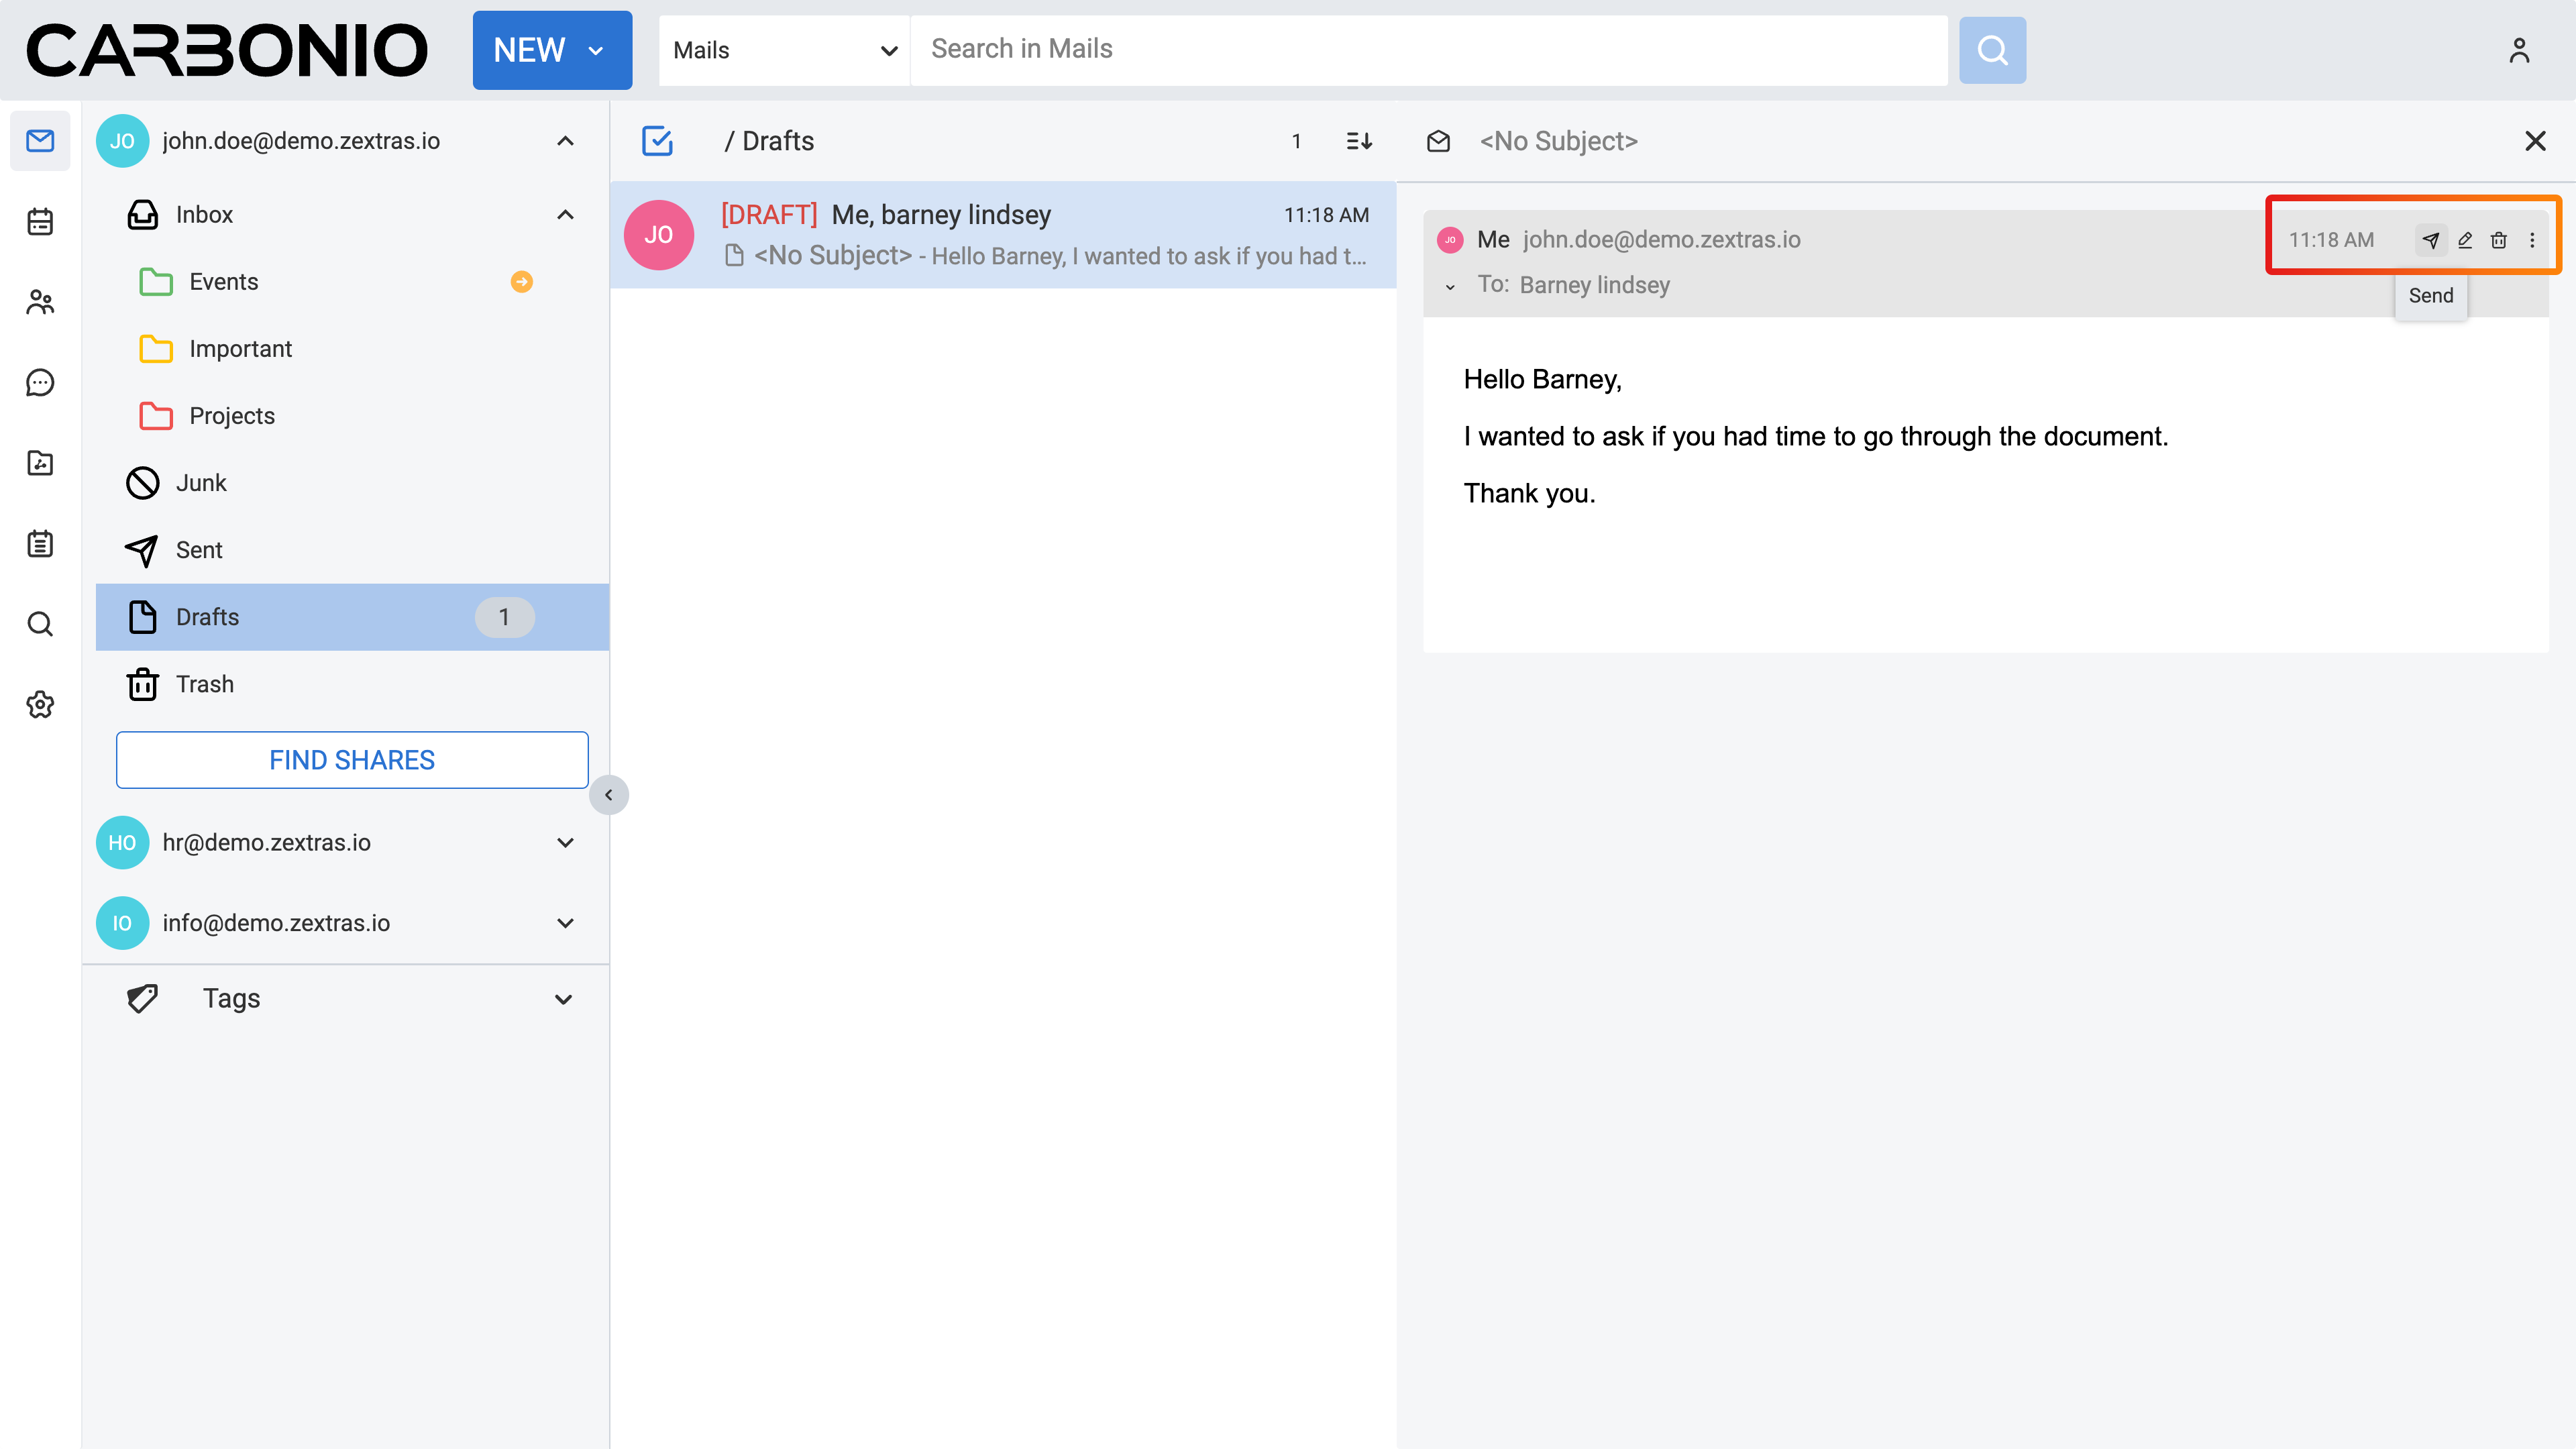
Drafted emails are accessible from the Draft folder. Here is how you can access and send them:
Click on the Draft folder in the navigation panel.
Locate your desired email in the main panel.
To edit the email before sending it, double-click on it. Alternatively, you can click on it once to review it from the right side of the main panel.
To send the email, simply click on the send button located at the top right corner of the main panel.
Replying to an Email#
To reply to an email, follow these steps:
Locate the email in the email list.
Right-click on the email.
From the menu that appears, select Reply or Reply all.
A new composing board will appear, allowing you to compose your reply.
Forwarding an Email#
To forward an email, follow these steps:
Locate the email in the email list.
Right-click on the email.
From the menu that appears, select Forward.
A new composing board will appear, allowing you to address new recipients.
Redirecting an Email#
To redirect an email, follow these steps:
Locate the email in the email list.
Right-click on the email.
From the menu that appears, select Redirect.
A new composing board will appear, allowing you to address new recipients.
Forward vs. Redirect#
The distinction between forwarding and redirecting emails lies in their intended purpose and outcome. When you forward an email, you are essentially sending a copy of the original message to another recipient, allowing them to view the content and any attachments included in the forwarded message. This is useful for sharing information with someone who may not have been included in the original email thread. On the other hand, redirecting an email involves sending the original message to a different recipient without creating a copy. Instead, the email is rerouted to the new recipient’s inbox as if it were originally addressed to them. This is typically done for administrative purposes or to ensure that important communications reach the appropriate recipient directly.
Therefore, opting to redirect a message instead of forwarding it simplifies the process for the recipient to reply directly to the original sender.