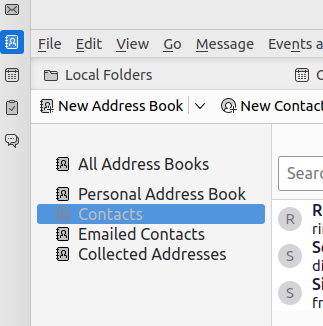
Contacts#
In the Contacts component you can keep track of all the people with whom you exchange e-mails and group them in address books. Existing address books appear on the column on the right of the component’s list. You can create new contact by using the NEW button and selecting New Contact; they will be stored under the Contacts section of the Contacts component. You can also choose under which address book the new contact is stored. Additionally, Tags can be added to any contacts.
Moreover, a contact can directly be imported from a vCard received as an e-mail attachment into the personal Contacts, then you can move it to other addressbooks, if needed. Similarly, a contact can be exported as vCard, saved on the local workstation, then sent by e-mail. chats or other means.
Note
Addresses of people to whom you send an e-mail are automatically added to the Emailed Contacts.
Deleted contacts land in the special Trash address book, which keeps them until you manually empty it. To do so, right-click the address book and select Empty trash.
Addressbook management#
A right-click on any address book allows to carry out a few action on it and its content:
to create a new addressbook
to move an addressbook, for example to create a hierarchy
to edit (and share), empty, or delete an addressbook
to import and export all the contacts in the addressbook in CSV format
Hint
To move the contacts from one address book to another, you can also drag the contact and drop it on the destination address book.
You can create groups of contacts to ease their management, for example if there is a groups of people that you contact frequently: refer to Section Contact Groups and Distribution Lists. If any colleague has shared an address book, you can click the FIND SHARES button under Shared Address Book and provide the e-mail address. You will see all the address books shared by the user.
You can search among contacts using the search bar. You can then refine your search by clicking the ADVANCED FILTER button. Here you can also choose to include shared address books in the search.
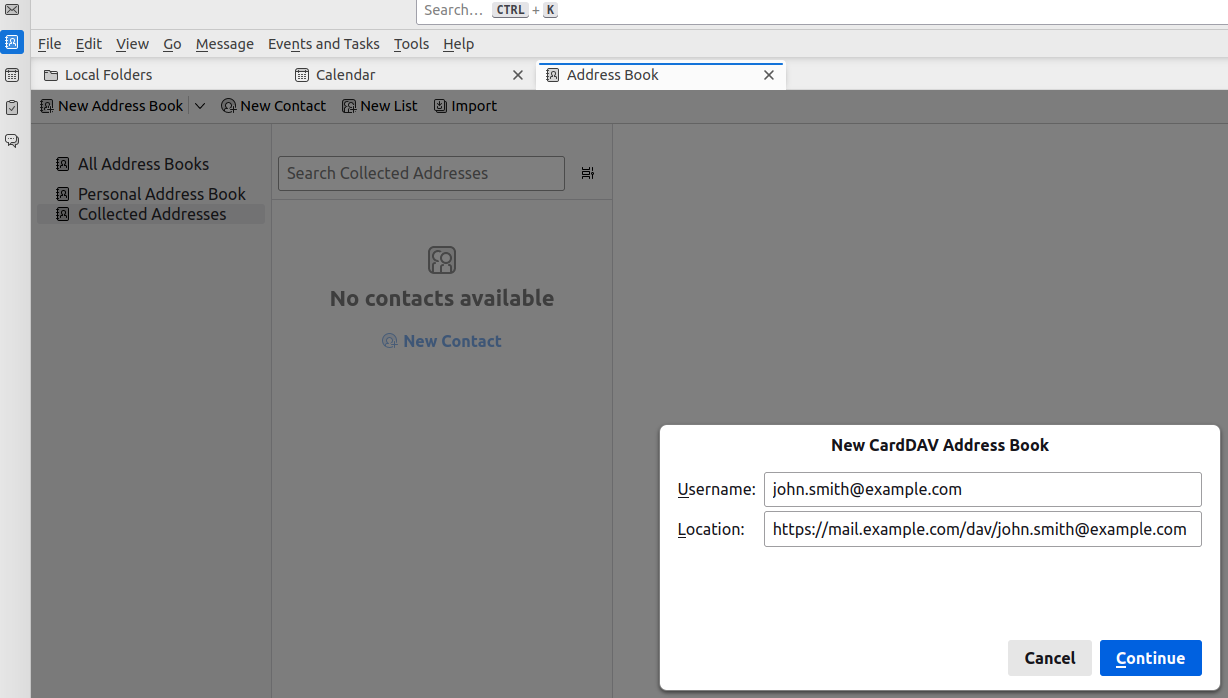
Configure a CardDav Client#
Adding a Carbonio CE address book to your favourite CardDAV client is straightforward and requires only a few steps.
In this scenario, the user john.smith@example.com wants to import in Mozilla’s Thunderbird an address book from on the domain mail.example.com. In the remainder, replace these values with suitable ones.
On your client, go to the Calendar and select New Address Book,
providing the Username and the Location, which has format
https://<domain>/dav/username, so
https://mail.example.com/dav/john.smith@example.com
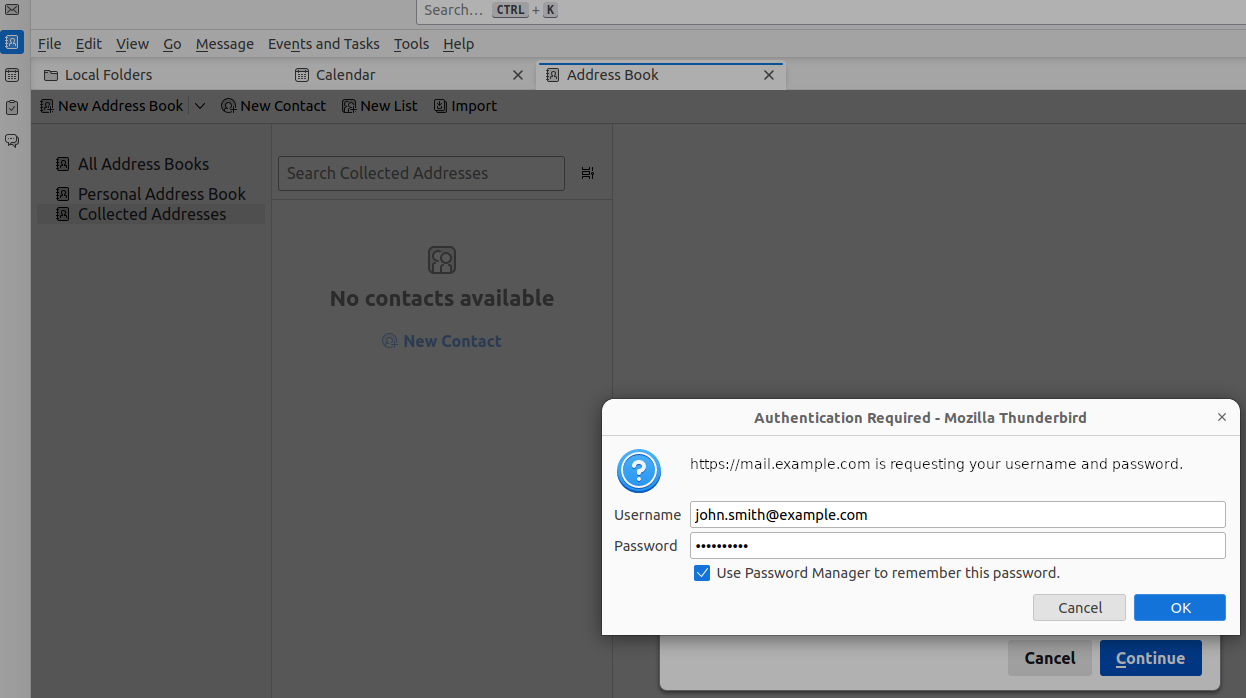
Authenticate co Carbonio CE by inserting the username and password to access the address book.
You will be then presented a list, from which to choose the address books to import in the client.
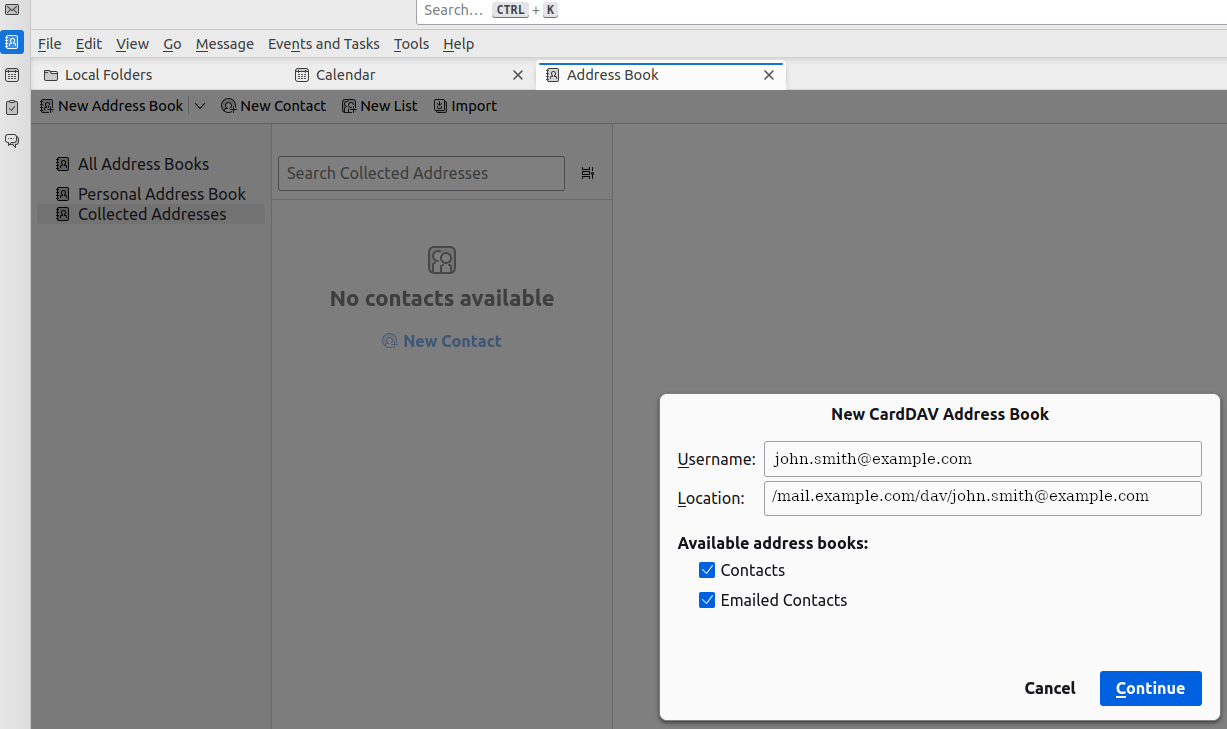
You are now done! The imported address books will show up in the list of your client.