Resources#
A Resource is a generic object that can be assigned an e-mail address, but, unlike other regular accounts, they do not need any signature, so you can not specify one.
A Resource can be of type Meeting Room or Equipment and is used to book either of them and let colleagues know the it is not available. There is no strict definition of Equipment: it can be any type of (mobile) furniture, like for example a projector or a company car.
Each resource is associated to an e-mail address: When a Resource is needed, you can create an appointment and invite the Resource.
One out of four policies is assigned to Resource, to determine how to react to the booking request:
Automatically accept when available, automatically reject if there is a scheduling conflict
Manually accept when available, automatically reject if there is a scheduling conflict
Always accept automatically if available
Never accept automatically
Moreover, it is possible to configure a Resource to automatically decline recurrent appointments: in this case, the Resource will not be available if the appointment involving it is recurrent.
Additional e-mail addresses can be added to the resource, for example to notify the company’s facility manager which meeting rooms are reserved and which are free.
How to create a Resource#
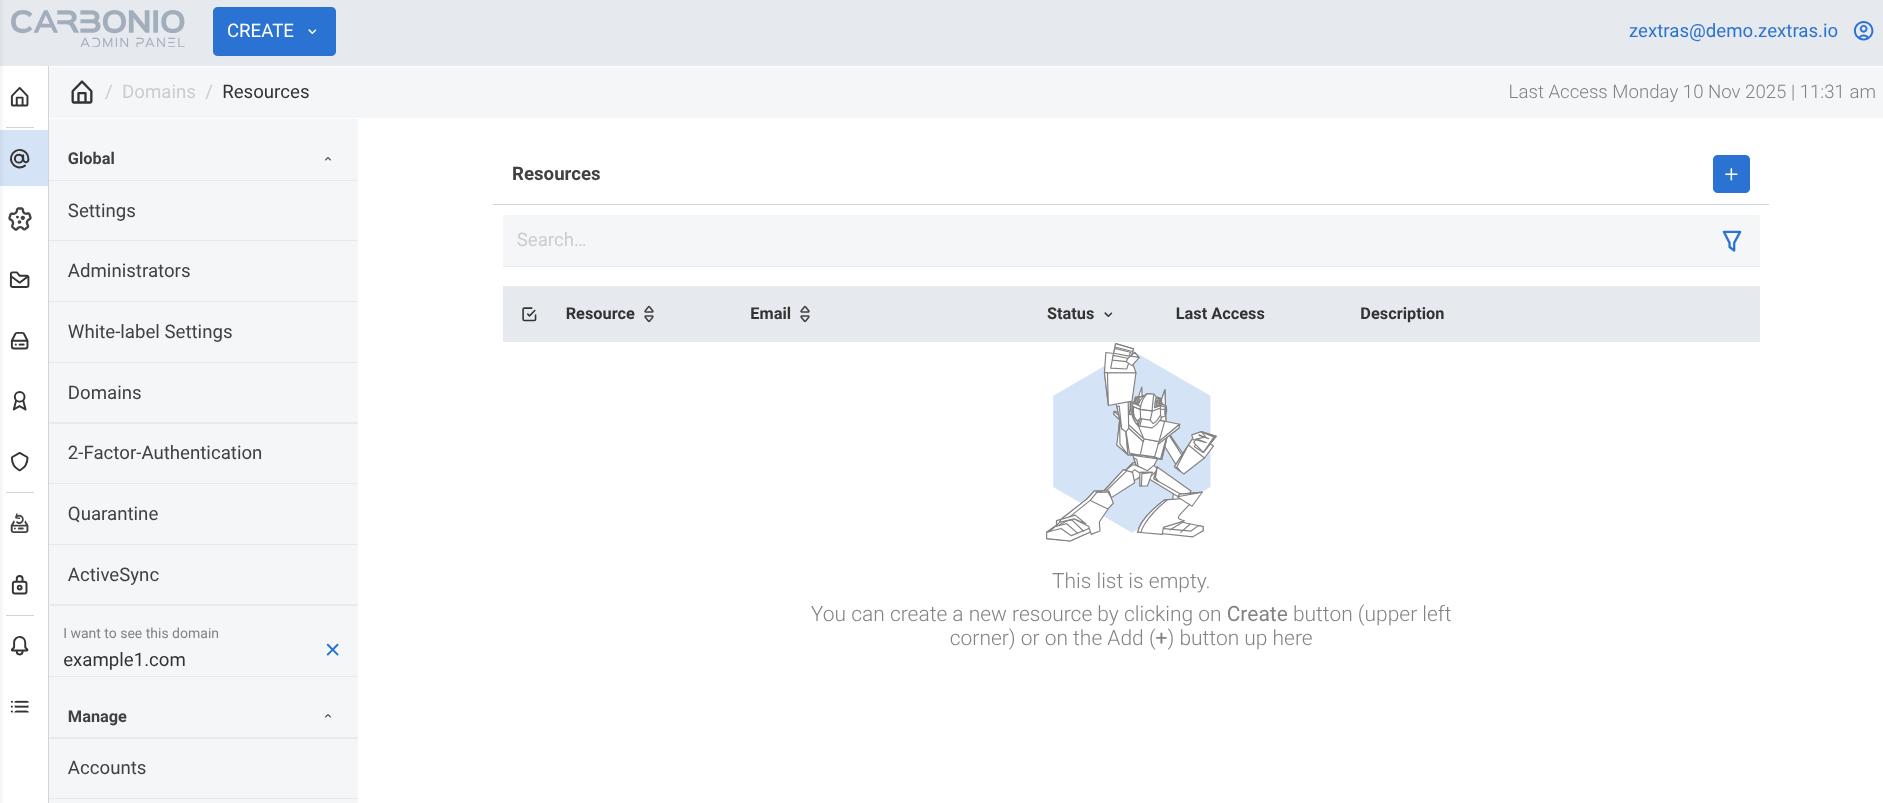
To create a new Resource, click the + button on the top right corner of the Resources’ list
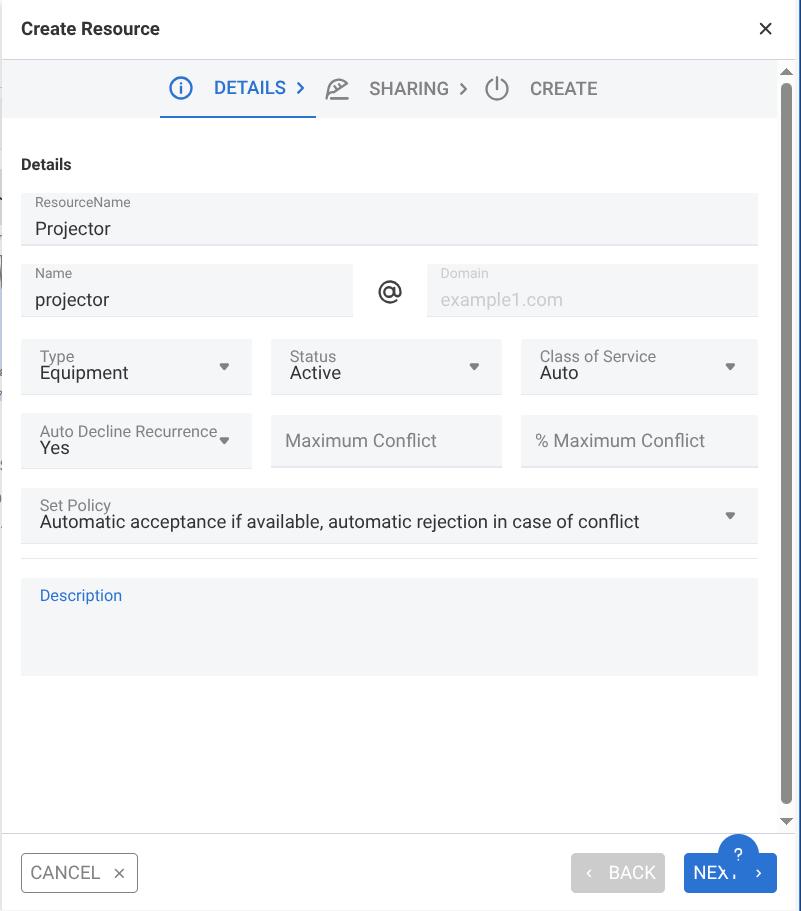
Fill in all the necessary information. In this example, we create a projector, which is a piece of equipment. Its recurrent use is not allowed, which means it must be reserved each time. As a policy, the projector is reserved if not already booked, otherwise it will not be possible to reserve it. The projector is also automatically assigned an e-mail address
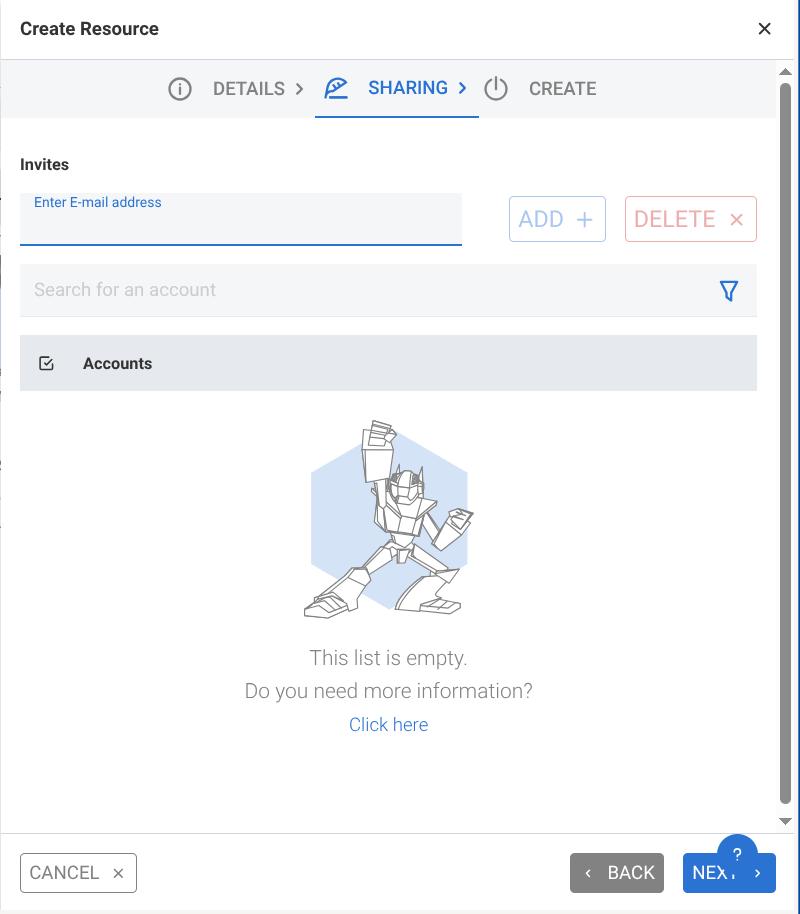
You can choose to add an e-mail address that will allow someone to receive the requests for projector booking as well.
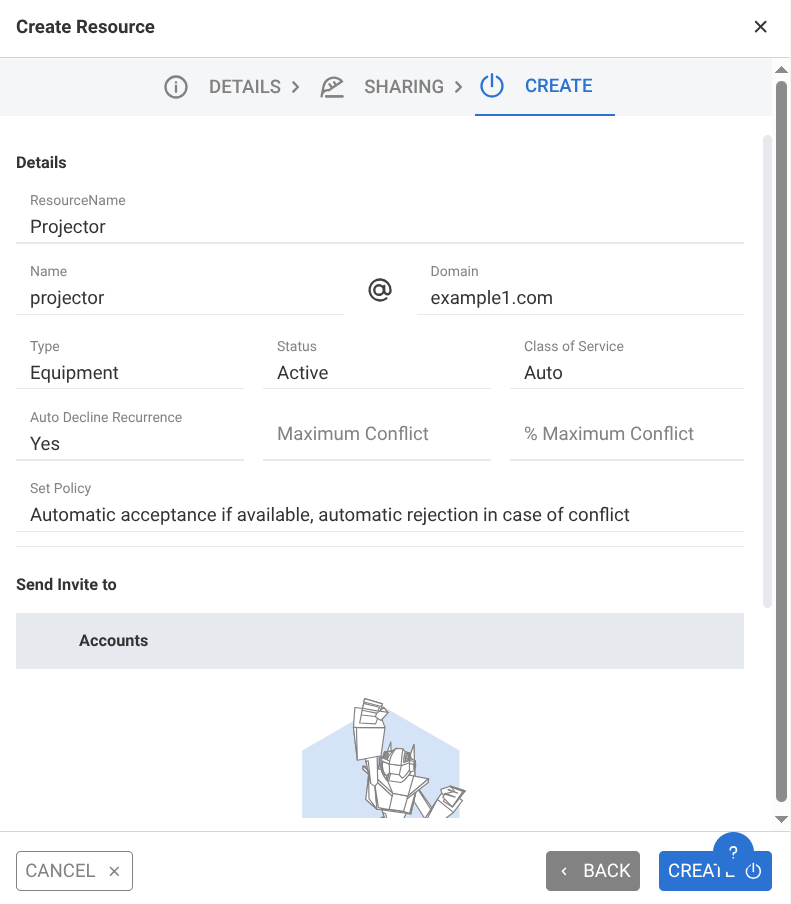
In the final step, a recap of the configuration will be shown.